Even though it was designed to be a Google Pixel exclusive, some XDA users have quickly been able to force Google Assistant on some rooted Android devices running on Nougat. This forced Google to rethink their strategy. Shortly after that event, a limited version of Google Assistant has made its way into the Google Allo app. With each update, Google Assistant grew into more powerful voice assistant, and it’s currently the best the world has to offer. When compared to other assistants like Siri or Alexa, Google Assistant is capable of carrying long dialogs with an unmatched contextual awareness. I remember being heartbroken when I read that Google Assistant launched on iOS while my Android Marshmallow still didn’t have it. Google set things straight in March 2017 and announced that Assistant will be made available for all Android devices running on 6.0 or above. Sadly, there’s a major inconvenient – Google Assistant is only officially available in certain countries. Despite Google promising that Assistant will become available worldwide in the near future, the rollout has been painfully slow. But as you can expect, that didn’t stop the Android community from finding workarounds on installing Google Assistant on every device. Below you have three different methods of installing Google Assistant on your Android device. If you have Android Marshmallow (6.0) or above, kindly start with the Method 1. If you’re still on Lollipop (5.0 or 5.1) or beyond, concentrate on Method 2 and Method 3. Regardless of which method you follow, none of them require you to have a rooted device. Let’s begin!
Method 1: Enabling Google Assistant with Beta Apps (Marshmallow and above)
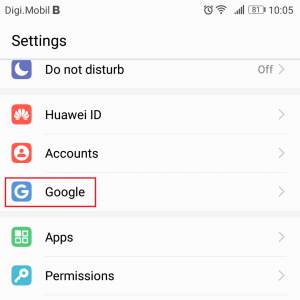
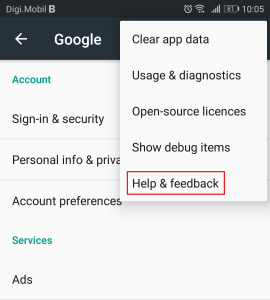
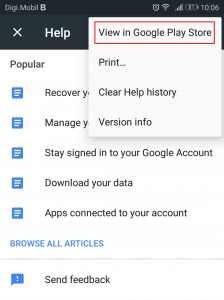
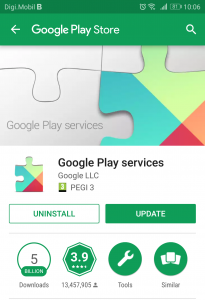
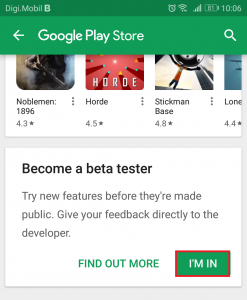
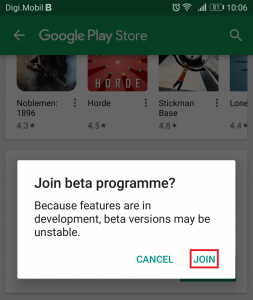
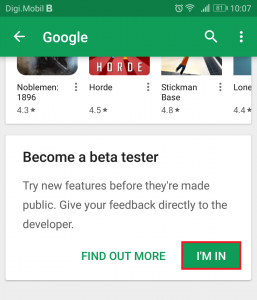
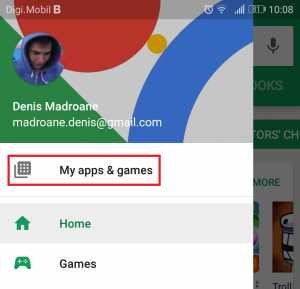
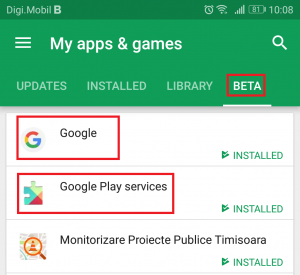
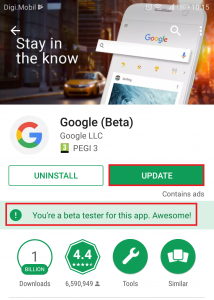
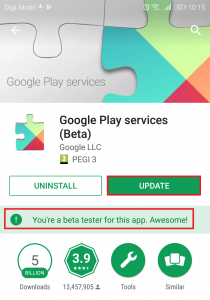
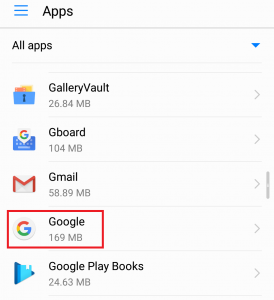
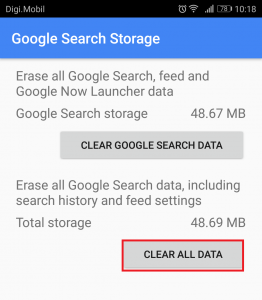
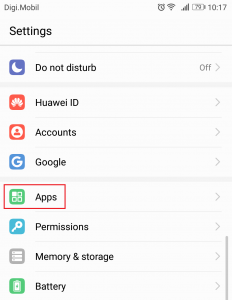
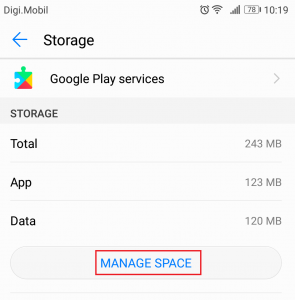
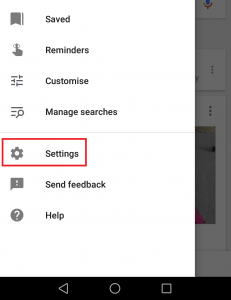
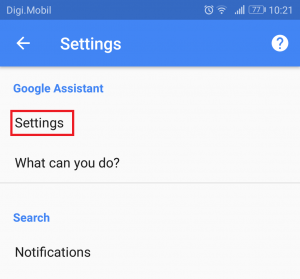
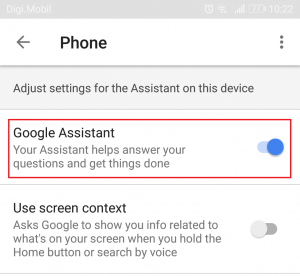
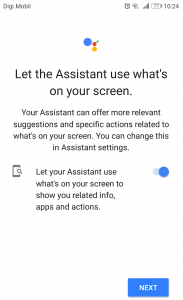
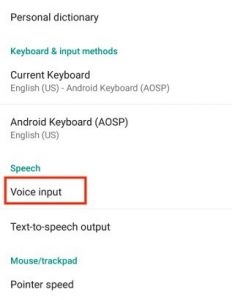
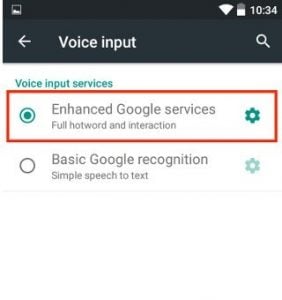
We are going to sign in for the beta versions of the Google app and Google Play Services. This will enable you to add the Google Assistant functionality on your device, even though it’s not officially supported. The entire process is quite long but is confirmed to work with most smartphone manufacturers. I tested it succesfully on a Huawei P10 Lite. Here’s what you need to do:
Method 2: Sideloading Google Assistant via APK (Lollipop)
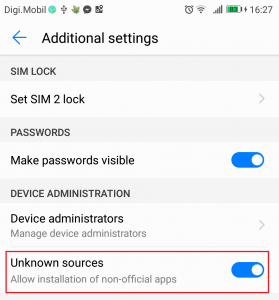
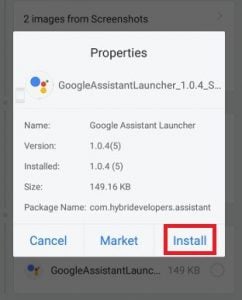
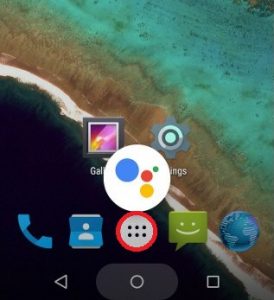
If you’re still on Lollipop, the above method will most likely not work. But there’s still hope for you. This method implies installing Google Assistant from an external APK. It should work as long as you remember to enable Unknown Sources. Here’s what you need to do: In the event that this method fails, move over to Method 3. Some older smartphones (especially Samsung devices) are known to have problems with sideloading Google Assistant. Luckily, they are compatible with Method 3.
Method 3: Installing Google Assistant via Nova Launcher (Lollipop and beyond)
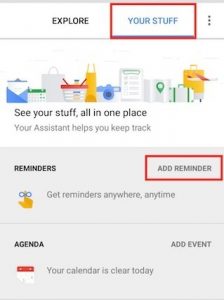
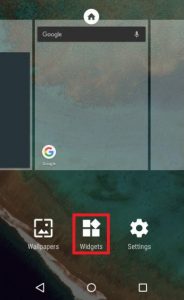
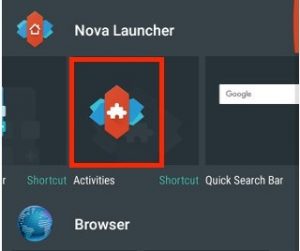
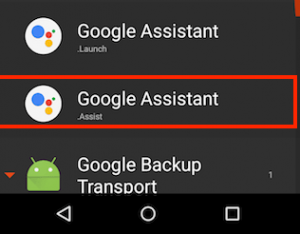
If you followed the first two Methods to no avail, it probably means you have an older version of Android than Lollipop or a device from Samsung J series. If that’s the case, this method will allow you to install Google Assistant. This method implies using a launcher capable of adding activity shortcuts to the home screen. We have used Nova Launcher, but feel free to use another equivalent app. Here’s what you need to do: Note: If you already installed the Google Assistant APK, skip steps 2 to 4.
Concussion
I certainly hope that you manage to install Google Assistant using one of the methods above. I’m a big advocate of virtual assistants and I believe you will see the power of Assistant the more you use it. In the event that you managed to install Google Assistant using a different method, tell us all about it in the comment section below so we can spread your knowledge.
Google Assistant vs Siri vs Alexa vs Cortana: Which is the best smart assistant?5 Methods to Unpair Apple Watch [Without or Without iPhone]Google Rolls Out New Google Assistant “Snapshot”: A Revamped Version of Google…How to Debloat the Honor Play Without Root
