Whatever the reason, Windows 11 offers a setting that allows you to alter the text size independently of display scaling, preventing you from also altering the size of the items on the screen. This tutorial will show you how to use all the available Windows 11’s text-size adjustment features. When it comes to enforcing this type of change on your operating system, you have several available options at your disposal:
Change the system’s font size from the Accessibility tab – This is the guide that you should start with. This is Microsoft’s way of changing the font size. This method should work as long there’s not an underlying problem with the Windows font system.Adjust Text Size using Display Scale Settings – Altering the font size in Windows 11 in a roundabout way by changing the display settings is an additional approach that may be used to make the text in the operating system easier to read. You are able to accomplish this by going to the Display Settings and changing the number associated with the Scale option (under Scale & Layout).Use Winaero Tweaker – Installing and making use of Winaero Tweaker is the option we advise going with if you are fine with relying on an application developed by a third party in order to get the job done. This free program has been upgraded so that it is compatible with Windows 11, and you can use it to change a large number of settings, both visible and hidden, such as the size of the font used for the window sliders, titles, messages, and menus.Change the Font using a .Reg key – In Windows 11, the system font may be changed, although doing so now requires making changes to the Registry. You can choose a different font that is far more noticeable to your eyes even if you are unable to modify the font size using a reg key.Reset back to default font settings via GUI – Another workaround you should think about is accessing Appearance and Personalization in the traditional Control Panel interface and adjusting the Text size before clicking Apply to save the adjustments.Use the screen magnifier feature – If you’d prefer not to make changes to the text size of the system that are permanent, you can simply utilize the screen magnifier that’s included in Windows 11 to make the display on your screen larger and zoom in and out of menus or documents that could be difficult to read.Revert back to default font settings via System Restore – It turns out that this typographic issue may have been accidentally brought on by a feature upgrade, a newly installed piece of software, or an antivirus scan. The simplest way to resolve the problem is to do a system restore and return to a stable state where this problem is not present because there are so many potential reasons that you should look into.
1. Adjust the font size via the accessibility tab
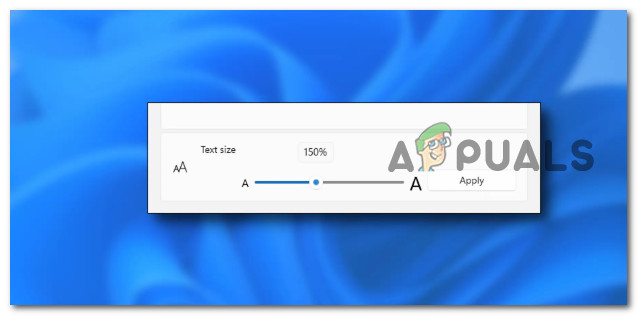
The Accessibility area of the Windows Options program is where Microsoft saves the text-size settings for Windows. It is important to note that all programs, both Win32 and UWP, receive the increased text size as a result of those adjustments. Note: The traditional Control Panel in earlier versions of Windows 10 has an extra GUI for controlling text size. Microsoft replaced the outdated controls in the Windows Settings program with more up-to-date ones in place of the traditional GUI for changing the text settings. Microsoft expects you to use this method to alter the font size. As long as there isn’t a fundamental issue with the Windows font system, this approach ought to work. Here’s what you need to do to adjust the font size from the accessibility tab on Windows 11: Note: It is important to note that Windows 11 displays a live preview above the slider. This allows users to see how a new size looks before applying changes to the entire system. Altering the size of the text in Windows 11 using the manner described before does not result in an increase in the size of the other UI components. This is an important point to bring out. We suggest that you use the screen scaling feature in Windows 11 to increase the text size if you find it difficult to use your computer owing to the tiny size of the text and user interfaces. To do this, follow the next method below.
2. Change the Display Scale Settings
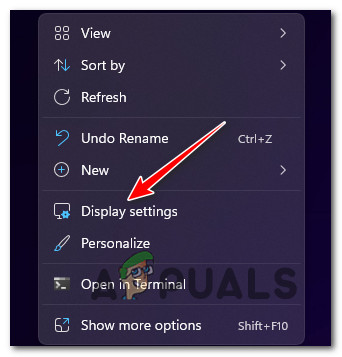
Another way to go about making it easier to see the text inside Windows 11 is to adjust the font size indirectly by modifying the display settings. You can do this by accessing the Display Settings and adjusting the value of the Scale option (under Scale & Layout). Several users for that we’re unable to adjust the font size from the Accessibility tab have confirmed that this method finally allowed them to increase or decrease the text. Note: Keep in mind that if you go for this option, there is a possibility that some apps might not change their text size in certain UI elements unless they are restarted. Ideally, you should perform a restart at the end of the procedure below. If you want to give this method a try, follow the instructions below:
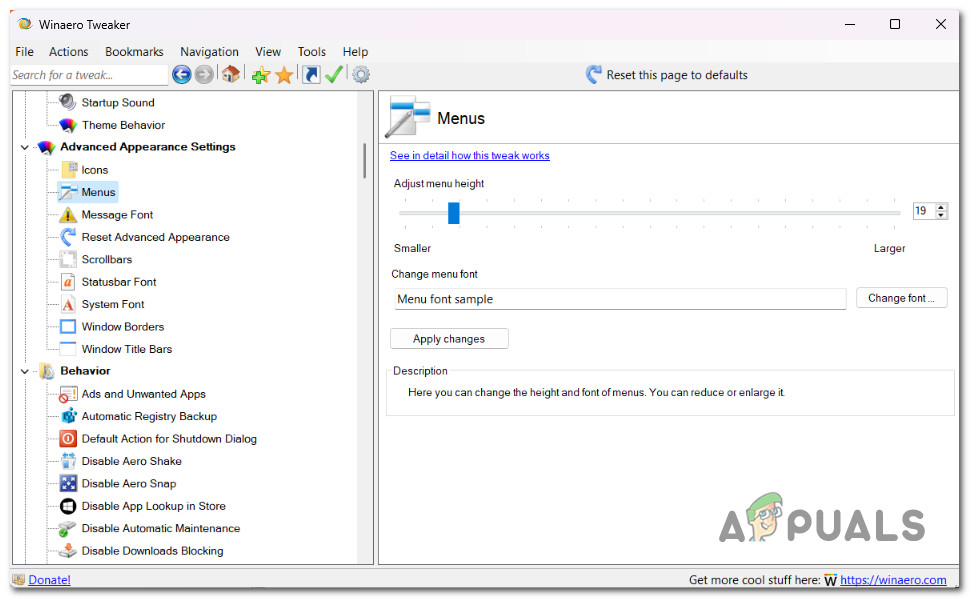
3. Use Winaero Tweaker (3rd party solution)
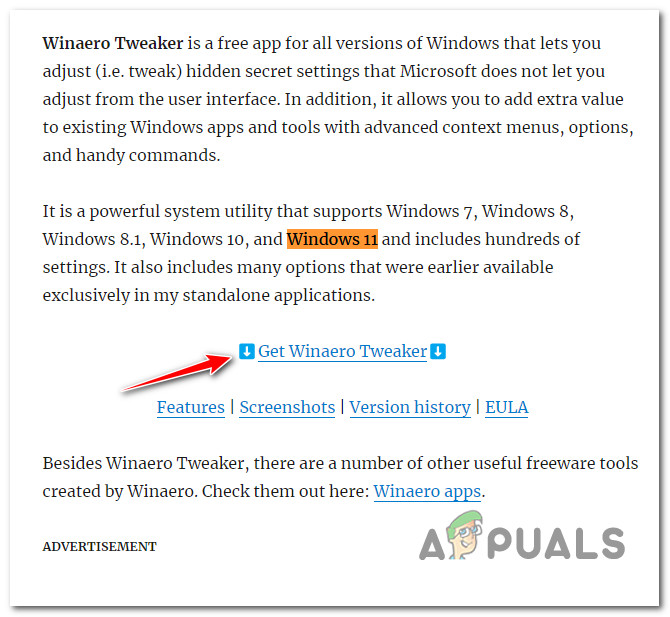
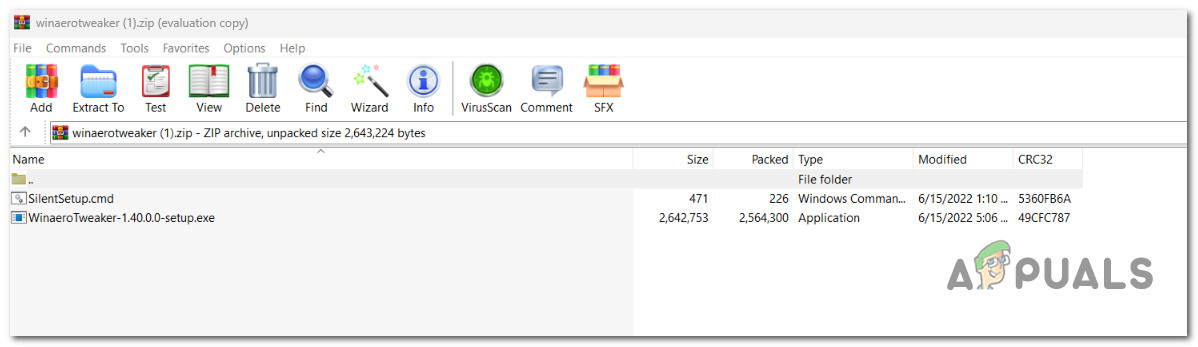
If you don’t mind using a third-party app to get the job done, our recommendation is to install and use Winaero Tweaker. This free app has been updated to support Windows 11 and you can use it to adjust a lot of hidden and visible settings that Microsoft might be reluctant to allow you. Among other things, you can use this tool to adjust the font size of the windows slides, titles, messages, and menus. Note: It is important to keep in mind that Winaero Tweaker modifies the settings that can be found in the HKEY_CURRENT_USER\Control Panel\Desktop\WindowMetrics registry entry. Because Microsoft does not officially support certain of those settings anymore, you may find that using them in some applications does not have any effect. Store apps, for instance, as well as many traditional programs, don’t take them into account. In any case, they are still useful. If you’re fine with using a 3rd party app to adjust the font size of Windows 11, follow the instructions below: If you’re looking for a different solution, move down to the next method below.
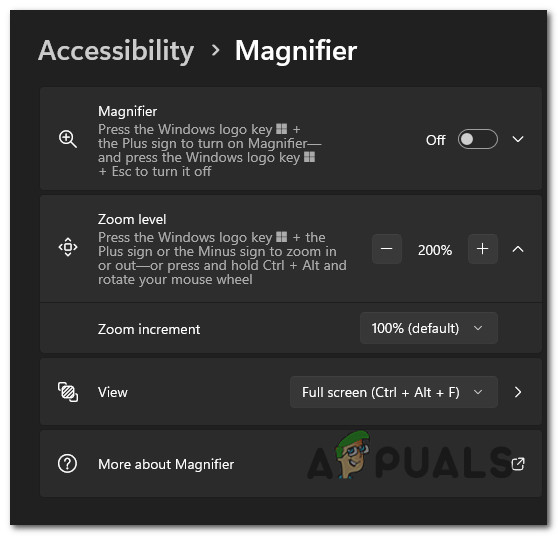
4. Use the Screen magnifier
If you’d prefer not to make changes to the text size of the system that are permanent, you can simply utilize the screen magnifier that’s included in Windows 11. This will allow you to make the display on your screen larger and zoom in and out of menus or documents that could otherwise be difficult to read. The feature is handled by the Magnifier app. After having used it, the magnifier’s functionality may be readily reset. The application may be accessed by selecting “Accessibility” from the “Settings” menu in Windows. The quickest way to get there is by pressing the Windows key + Ctrl + Enter. This will take you directly into the Magnifier sub-tab of the Accessibility tab inside the Settings menu. Once you’re inside the Magnifier tab, you can quickly open the Magnifier app and use that to view text that would otherwise be too small to read. Alternatively, you may use the screen magnifier feature by hitting the ‘Windows’ key + ‘+’ key. If you want to zoom out again, press ‘Window’s key + the ‘-‘ key. In case you don’t need a workaround and you want a method that will allow you to brute-force your way to achieving a bigger font size, move down to the next method below.
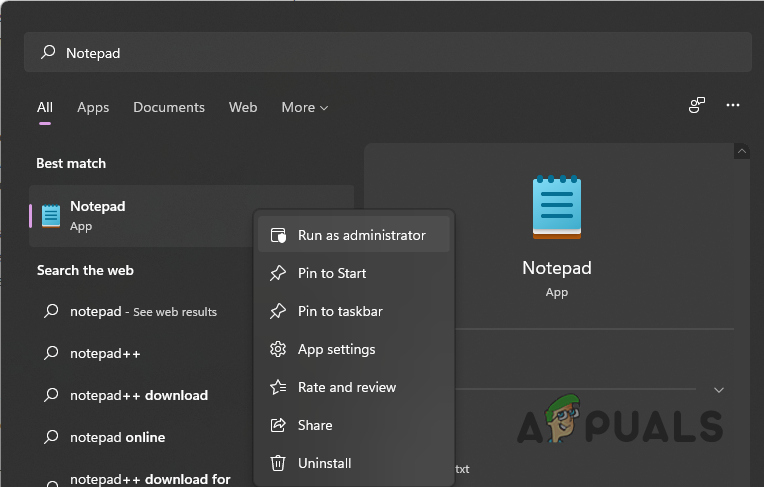
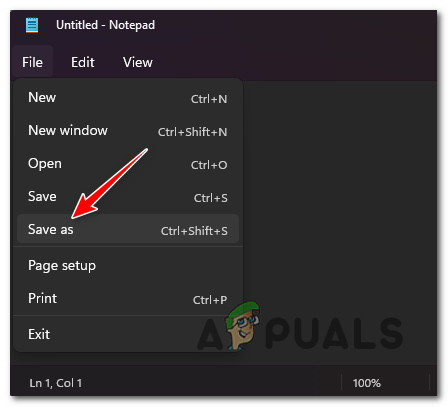
5. Change the font with a .reg file
The default system font can be changed in Windows 11, although doing so now necessitates making modifications to the Registry. Even if you can’t change the font size with a reg key, you can select a different font that is a lot more visible to your eyes. Note: For many desktop aesthetic components, including File Explorer, icons, title bars, menus, message boxes, and more, previous versions of Windows, like Windows 7, provided customization settings in the Control Panel. You are now forced to use the standard system font because Windows 10 and Windows 11 deleted these preferences for some reason. However, if you prefer another font, you may alter the “Segoe UI” default font in Windows 10. It only requires a few more steps utilizing the Registry at this point. In the steps below, we will walk you through a series of steps that you need to do in order to adjust the font size via a .reg file that you create. Here’s what you need to do: Note: This is a gentle reminder that modifying the Registry may be dangerous and, if done incorrectly, can harm your installation permanently. Making a complete backup of your PC is advised before continuing or at least a backup of your registry. You may also undo the modifications by creating a system restore point as an alternative. If the problem is still not fixed, move to the next method below.
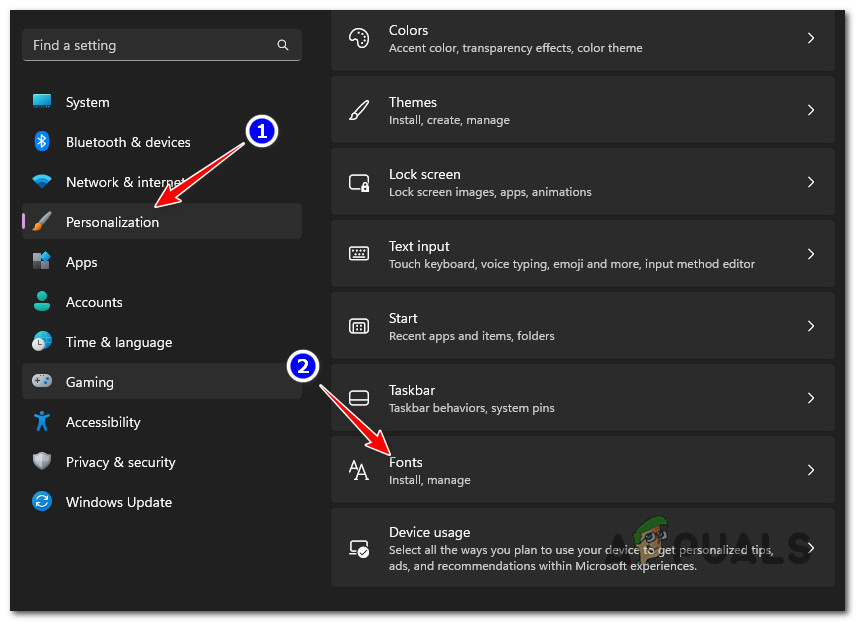
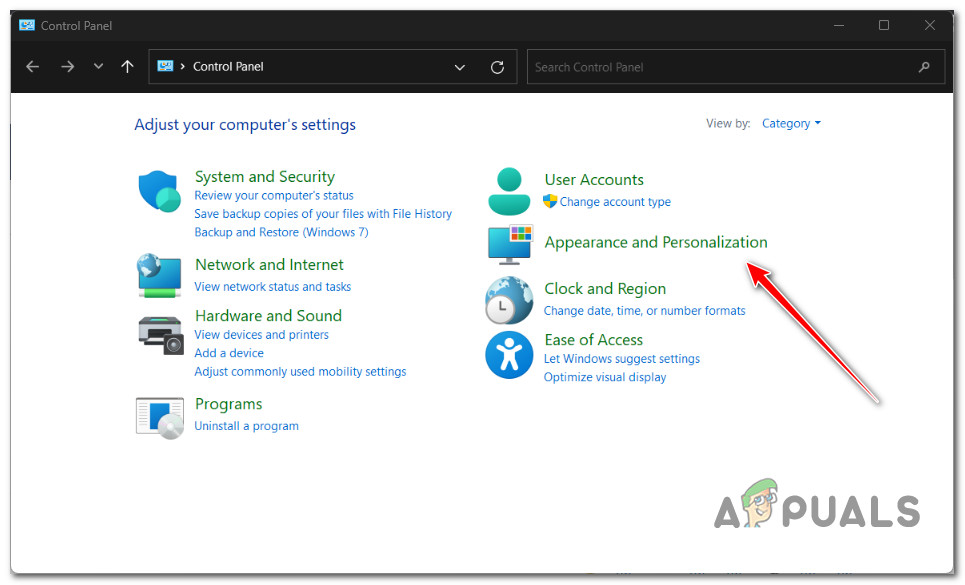
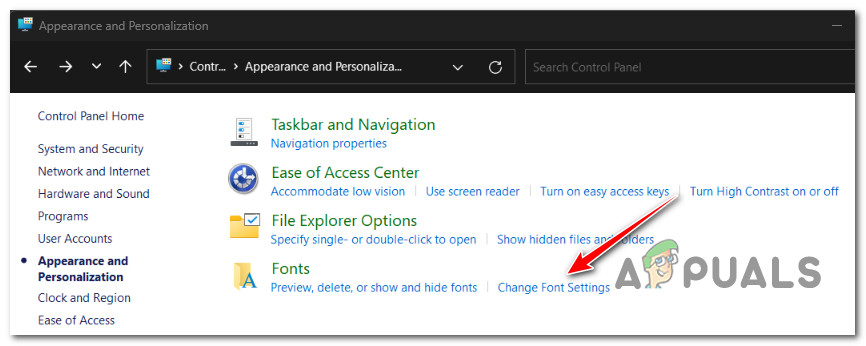
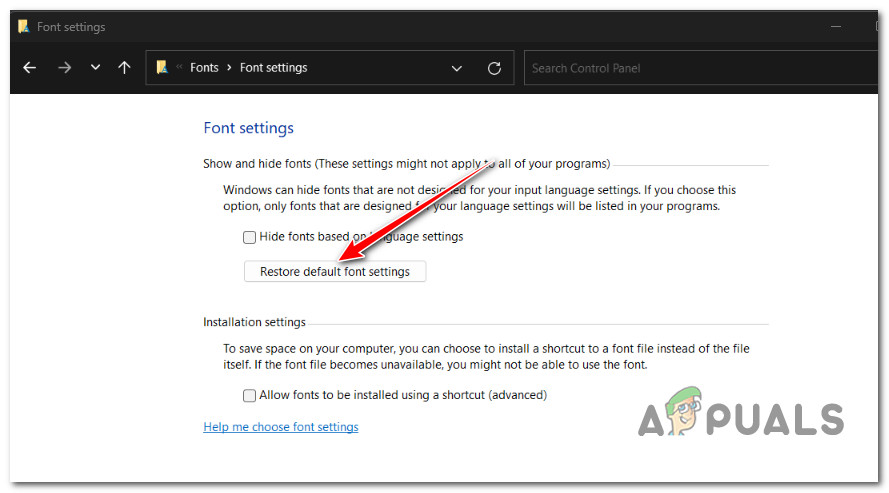
6. Revert back to default font via Classic Control Panel
If you’ve come so far without a viable resolution, another fix that you should consider is using the classic Control Panel interface to access the Appearance and Personalization to adjust the Text size before clicking Apply to save the changes. Note: Even though the Classic Control Panel interface is not visible by default on your Windows 11 computer, you can access it by searching for the legacy component manually or simply by searching for it using the index feature. Keep in mind that this method will only allow you to revert back to the default font size. It won’t allow you to enlarge the default font size to a higher value. Only use this method if you previously modified the font size value to a smaller value and you want to revert back to the default value. Here’s what you need to do in order to revert back to the default font via the Classic Control Panel (legacy component) on Windows 11: If you’re looking for a different way to restore your default font size, move down to the next method.
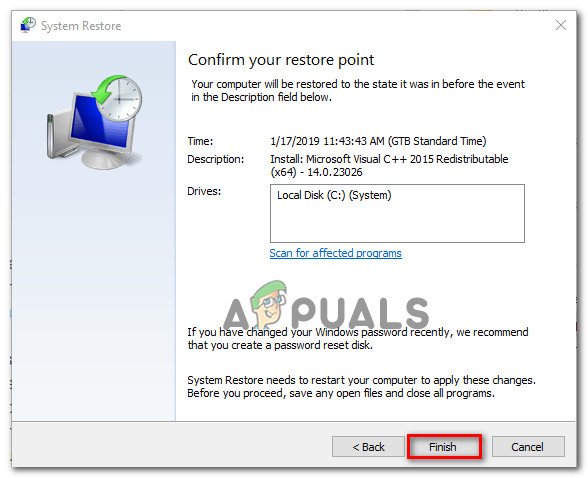
7. Revert back to default font via System Restore
It turns out that a feature upgrade, a newly installed piece of software, or an antivirus scan may have unintentionally caused this typeface issue. Since there are so many potential causes that you should investigate, the easiest method to fix the issue is to do a system restore and return to a stable state where this problem is not present. With the help of this built-in system application, you may return your complete Windows installation to the original, trouble-free condition where the system typeface was not altered. However, in order to utilize this fix, your operating system must have previously taken a snapshot that may be used to restore the Windows installation to an earlier period. However, if you haven’t modified Windows’ default settings, it should be configured to often save System Restore Snapshots (after every installed Windows update). Important: Restoring your font size to its default setting is the only use for this procedure. You won’t be able to increase the default font size using this approach. Before attempting this method, be aware that it would basically undo any modifications done after the snapshot was initially produced. Any user preferences, game downloads, or program installations will have been erased once the snapshot was taken. If you wish to restore your system, use the steps below to discover how to accomplish it:
How to Change Font Size for Windows Live Mail on Windows 10How to Change Font Size on Windows 10 Creators UpdateHow to Increase or Decrease the Font Size in Notepad++How to Change Android System Font without Apps