After investigating this issue, we realized that this problem can have several different underlying causes. Here’s a short list of culprits that you should be aware of: Now that we have gone over every potential cause of this issue, let’s go over a series of fixes that other Minecraft users have successfully used to get to the bottom of this issue and finally force the launcher to recognize their purchases.
1. Check if the Minecraft server is down
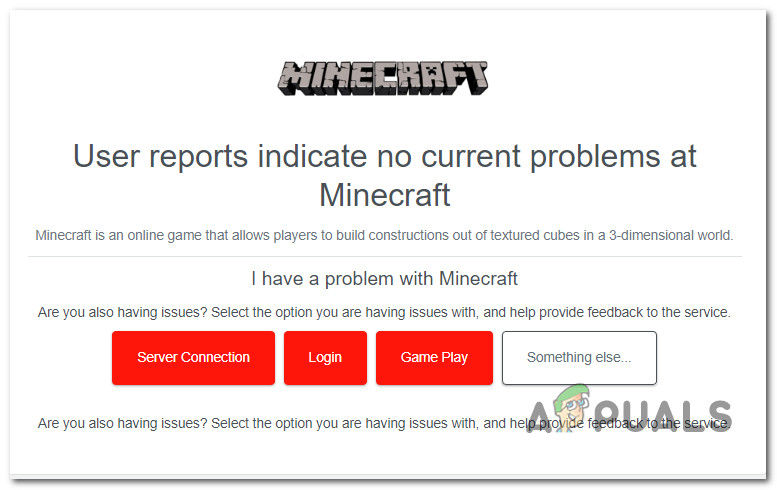
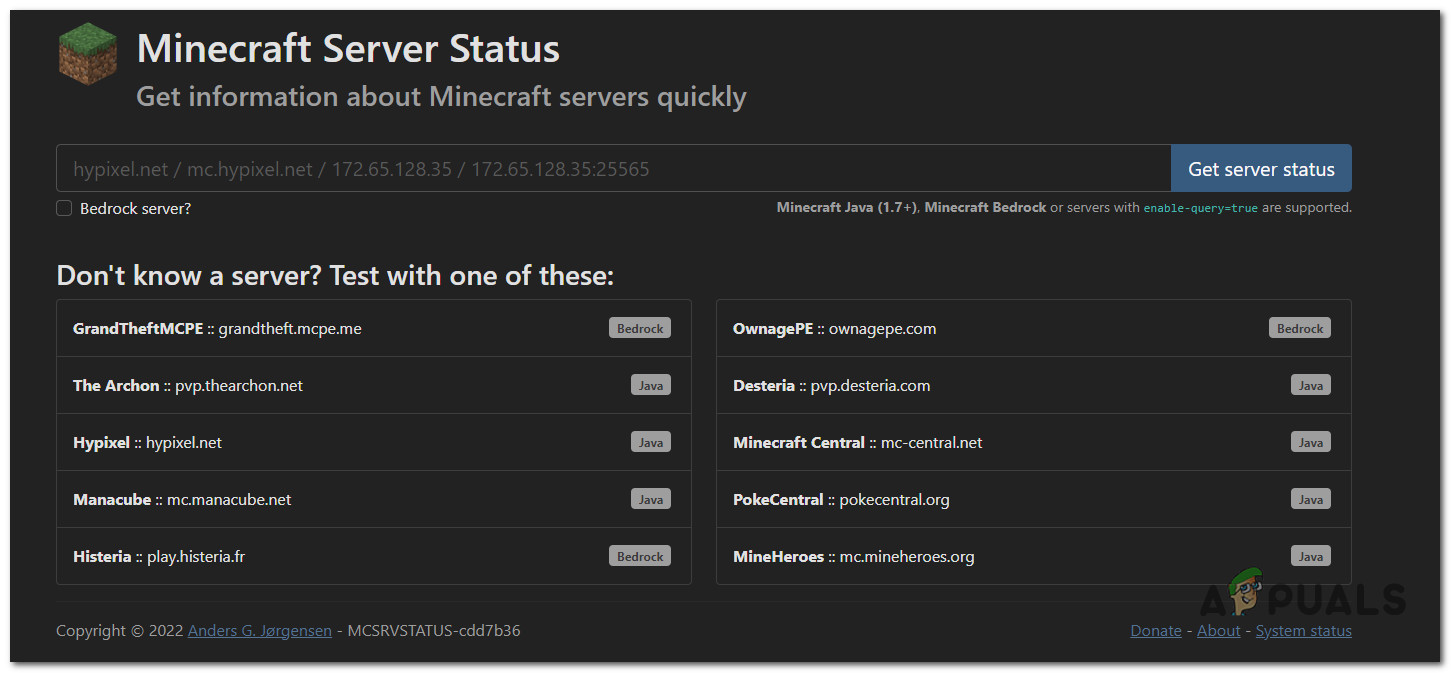
Before you move on to more actionable troubleshooting steps, you must ensure Minecraft’s servers are running as they should. An ideal way to start is by using services like DownDetector or IsTheServicceDown. Access the individualized pages of Minecraft and see if any users are currently reporting underlying issues when accessing the main launcher of Minecraft. Note: Make sure to scroll to the bottom of the status pages (to the comment section) and check if other users describe the same issue you’re currently having. Besides status services, you can also check the individual status of the particular Minecraft server from which you’re experiencing problems by using the Mcsrvstat.us fan-made service. To test a server status on Mcsrvstat.us, simply paste the server URL inside the bar at the top, then click on Get Server status. Additionally, if you find evidence of an ongoing server issue, you can also check the official Twitter account of Mojang for any recent announcements about an outage period. They habitually post about it whenever there’s something wrong with the server. If this investigation has concluded that there are no ongoing server issues, move down to the next method below.
2. Update the Minecraft launcher to the latest version
Once you’ve determined that the issue is not occurring due to a server problem beyond your control, you should investigate whether you’re running on the latest version of the Minecraft launcher. This may appear if Minecraft’s version differs from the server you are attempting to join. Depending on your device, you need to update your Minecraft program straight from the PC launcher, Google Play, or App Store. For your convenience, we’ve divided this tutorial into three subsections covering PC, Android, and iOS. Pay attention to the sub-guide that applies to the platform you are using.
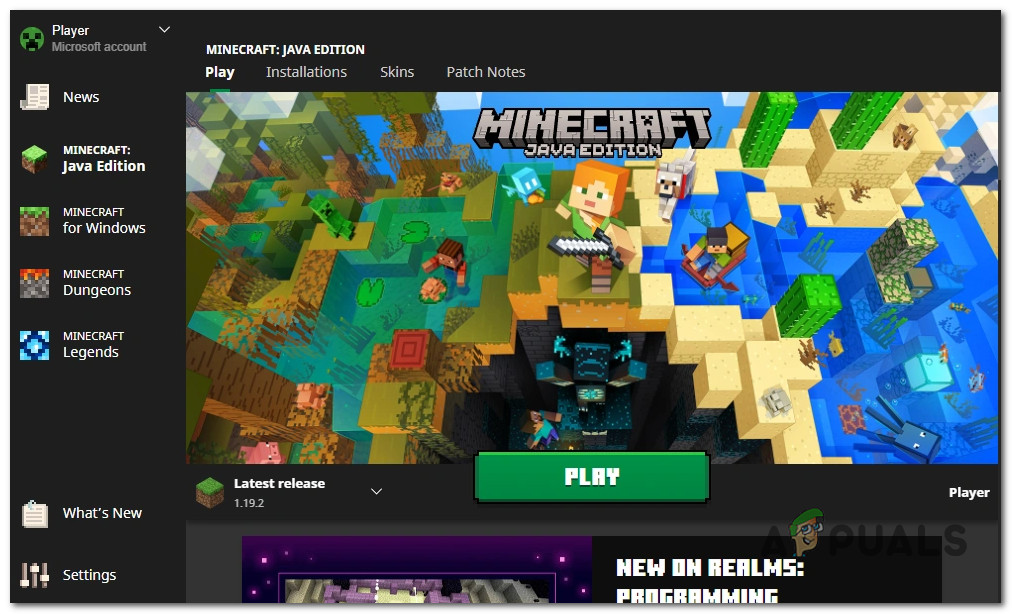
2.1. Update Minecraft Launcher on PC
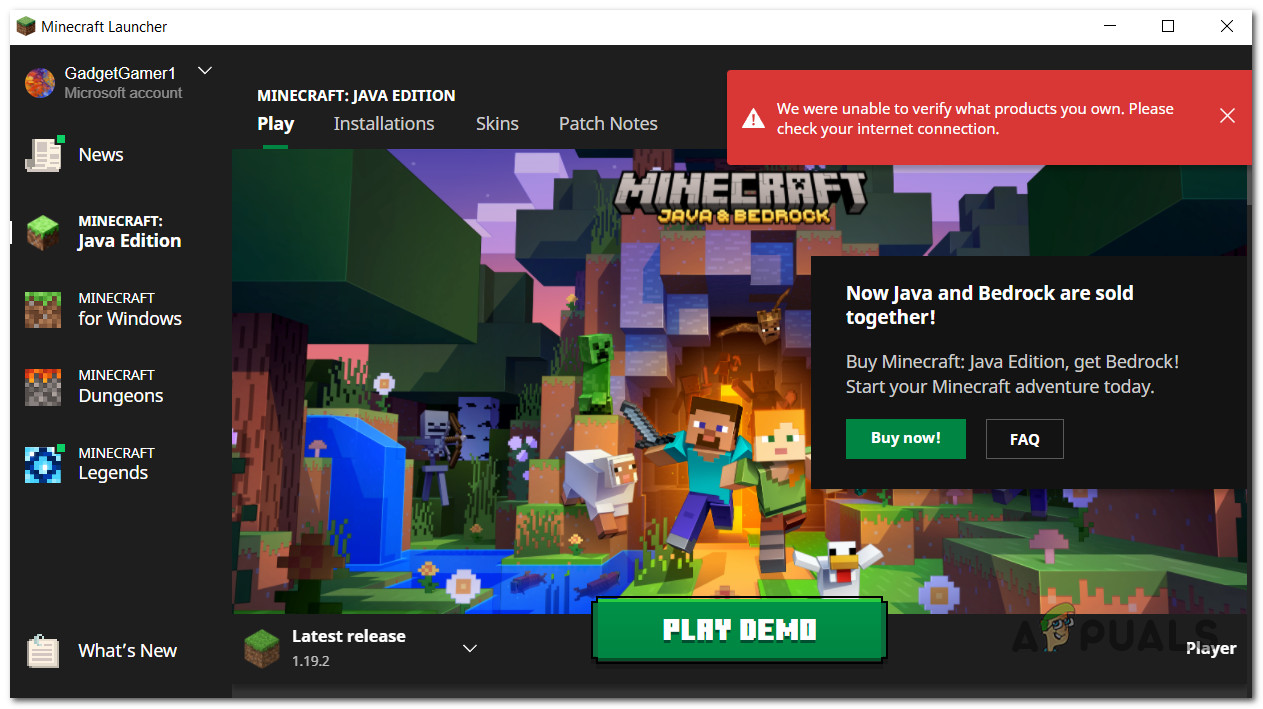
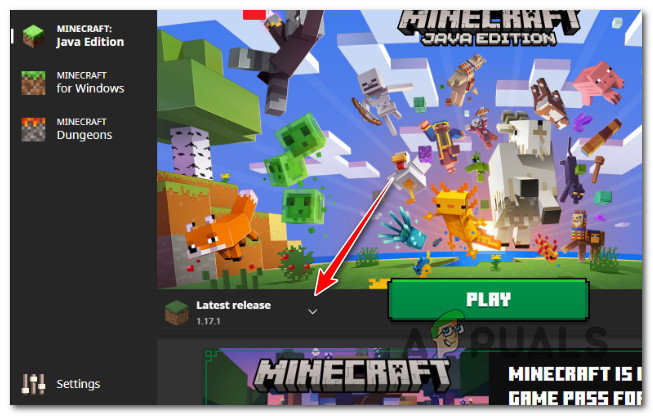
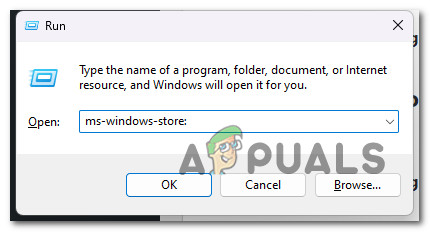
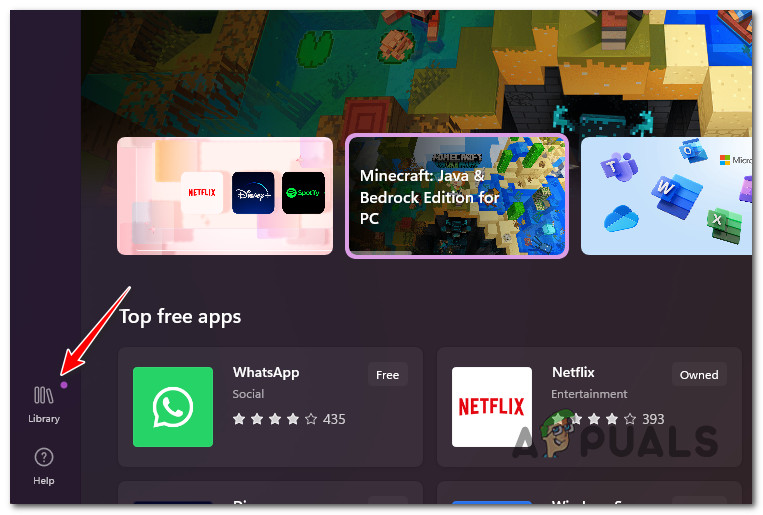
If you’re running the Jave Edition of Minecraft, open the launcher and ensure that you are running on the latest release by pressing the arrow on the right side of the play button. From there, select ‘Latest Release‘ and see if you can run the game without the same “We were unable to verify what products you own” error. If you’re running the UWP (Universal Windows Platform) version of Minecraft, updating the launcher is automatically handled via the Microsoft Store. But there are known situations where the updating functionality effectively breaks. In this case, follow the steps below to force an update in case it’s currently pending for some reason:
2.2. Update the Minecraft app on Android
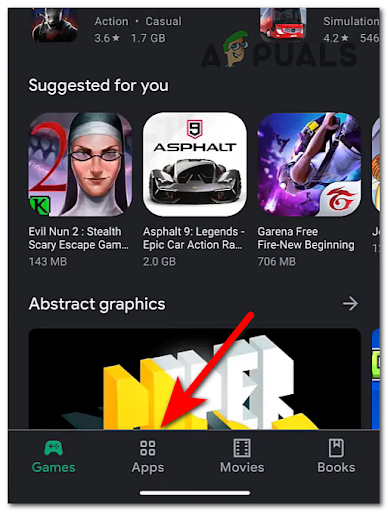
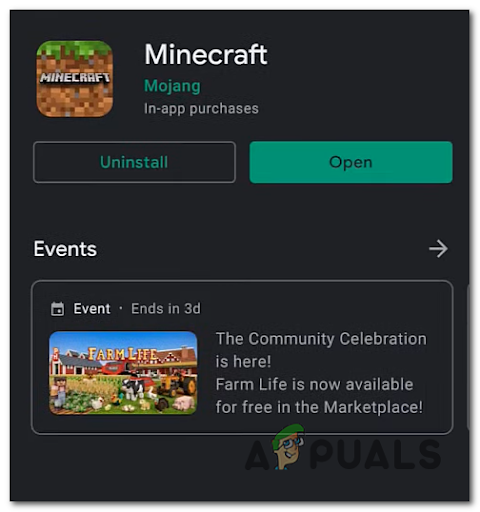
Although the Android app of Minecraft should update automatically, there are situations where the app lags back even though a new method is available. You can remedy this issue if you’re using an Android smartphone by going to the Google Play Store and forcing the Minecraft app to update from the applications page. This is how:
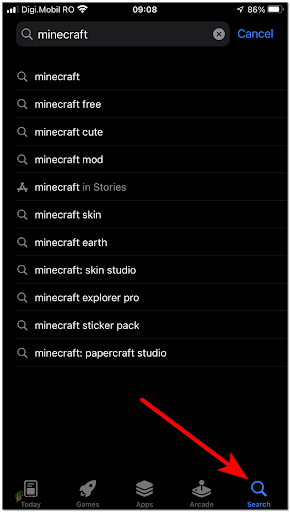
2.3. Update the Minecraft app on iOS
If you’re using an iOS device, you must search for and access the specific game listing to force the Minecraft app to update. Here’s how to do this: If the problem is still ongoing even after updating or you find that you are already using the most recent version, scroll down to the next possible solution below.
3. Restart PC & Reopen the launcher
If none of the potential fixes above have allowed you to fix the issue, another strategy you can try is to restart your PC before reopening the launcher. This might seem like a simple fix, but many affected users have confirmed that once they did this, the launcher finally recognized their purchase and allowed them to launch Minecraft, Minecraft Dungeons, or Minecraft Legends. If you haven’t tried this already, reboot your PC and wait for the next startup to complete before launching Minecraft once again. In case the issue persists, move down to the next method below.
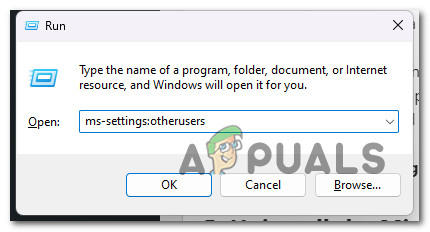
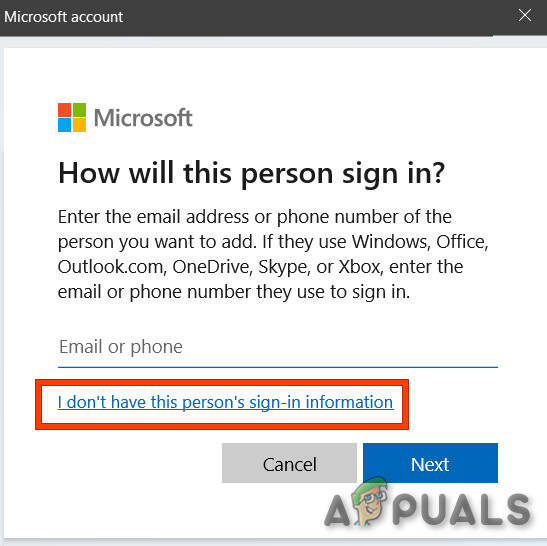
4. Use a new Windows account (PC Only)
It’s possible that your Windows profile was damaged, which would account for the Minecraft launcher’s refusal to update itself and the ensuing problem message, “We were unable to verify what goods you possess.” Users who had this issue reported that it was resolved by switching to a local Microsoft account. Note: This method is typically reported to be effective when Minecraft’s UWP (Universal Windows Platform) is being used. This procedure will reset any dependencies connected to your active user profile, so be aware of that. When you start the Windows Minecraft launcher after making a local user account for your Windows system, sign in as shown below: If the same issue is still occurring, move to the next method below.
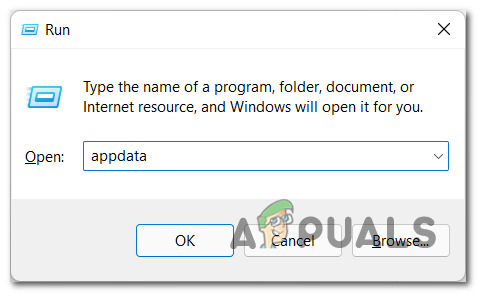
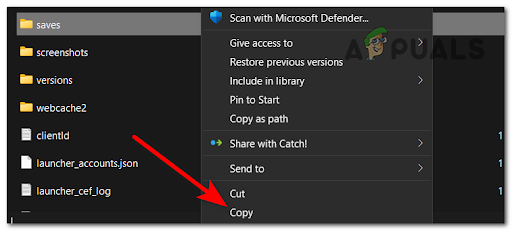
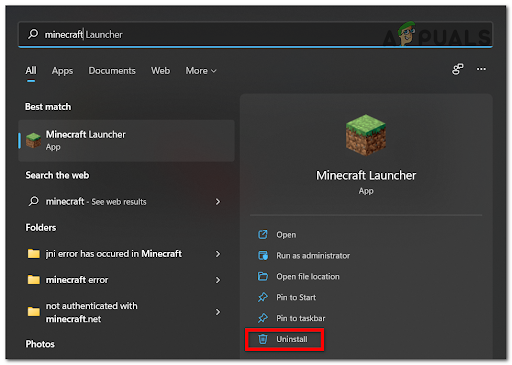
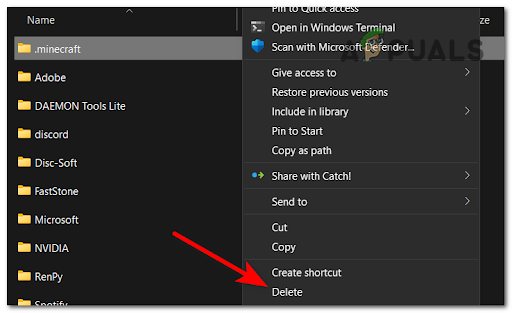
5. Reinstall the Minecraft Launcher & clear temp data
This problem may be caused by file corruption inside your installation of the Minecraft launcher, especially if you were previously able to launch the game properly and this error only started to appear after installing a Mod launcher. If the first technique in this post didn’t work for you, the best thing you can do now is to make sure that you backup your data before reinstalling Minecraft because it can be difficult to pinpoint the offender. Follow the steps below for step-by-step instructions on how to achieve this: If the problem is still not fixed, move to the next method below.
6. Check ownership of the game (Minecraft Dungeons only)
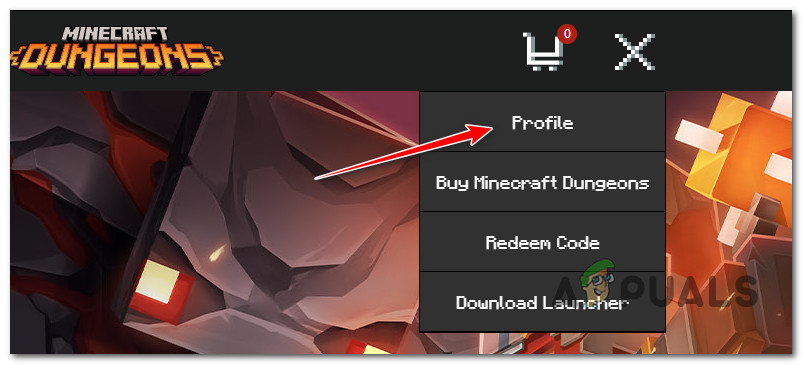
If you are experiencing this issue when attempting to launch Minecraft Dungeons from the main Minecraft launcher, you should take the time to check if you own the game by going to your account settings on the official website. Many Minecraft players confuse Minecraft Dungeons with Minecraft Legends, and they’re taken aback by the “We were unable to verify what products you own. Please check your internet connection” error (even if it occurs for a legitimate reason). If you suspect this to be the reason why you’re experiencing this error when clicking on Minecraft Dungeon, follow the instructions below to confirm that you own the game: If you confirmed that you own Minecraft Dungeons and you still see the “We were unable to verify what products you own. Please check your internet connection”. when you try to launch it via the PC launcher, move down to the next method below.
7. Restart or reset the router
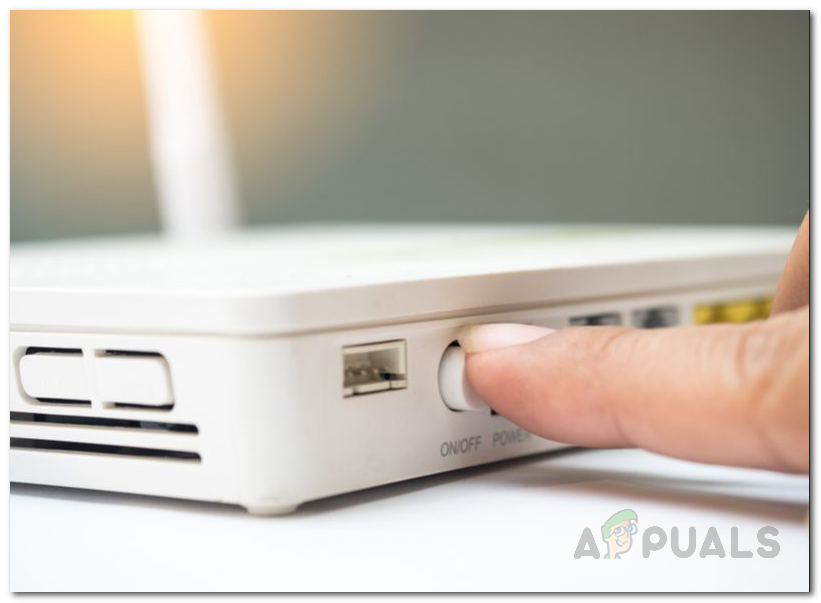
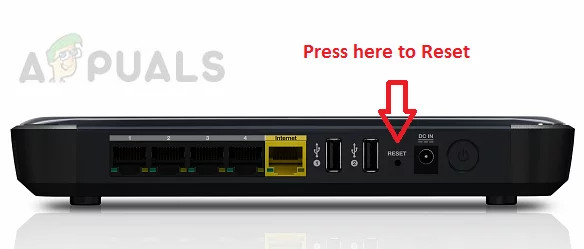
Several affected users have reported that this problem can also occur due to a network inconsistency facilitated by an IP / TCP inconsistency rooted in your router. If this scenario is applicable, you should be able to fix this problem by going for a simple reboot – What this will do is it will refresh the IP and DNS that your PC currently uses and clear any temporary data packets. To go for a router reset, simply turn Off your router using the On / Off button on the back of your network device or just physically unplug the power cable. After you do this, wait for at least 30 seconds to ensure that the power capacitors are completely drained. After this time period has passed, turn on your router, wait for Internet access to be re-established, then launch Minecraft to see if the “We were unable to verify what products you own. Please check your internet connection” error is still occurring when you launch the Minecraft launcher. If the problem is still persisting, your next step should be to go for a router reset. You can do this by using a sharp object to press and hold the Reset button on the back of your router. Note: Keep in mind that this procedure will reset your router settings to the factory state. This will override any custom settings, forwarded ports, or blocked devices. Sometimes, it might also clear the router’s ISP credentials to facilitate an Internet connection. If you are prepared to go for a router, reset, press, and hold on to the Reset button until you see the front LEDs flashing all at once. Once this happens, release the Reset button and re-establish the Internet connection. Test to see if the problem is resolved by opening the Minecraft launcher once again.
How to Fix ‘Not Authenticated with Minecraft.net’ Error on MinecraftFix: Minecraft Error code 5Fix: Internal Server Error in MinecraftHow to Fix the Minecraft Server Connection Timed Out Error on Windows?