The reset to device issue could be caused by many diverse factors but the following can be easily marked as the main ones:
1. Perform a Cold Restart of the System and Reseat the Disk Cables
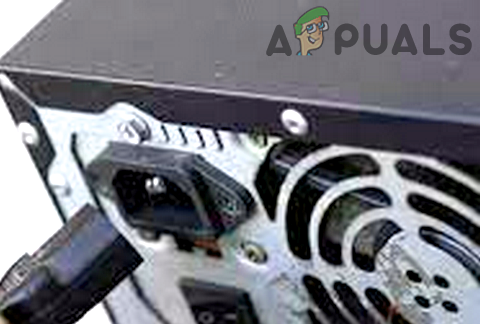
A temporary glitch in the system’s modules or an improperly seated cable of the drive could cause the reset to devise issue. Here, performing a cold restart of the system and reseating the drive cables as well as other internal components (like RAMs) may solve the problem. Before proceeding, it is strongly recommended that you create a backup of the problematic drive as the error can be one of the first symptoms of a failing hard drive. If that did not work and the issue is occurring with an external drive with a cover or caddy, check if trying another cover/caddy or without any cover (if possible) clears the error. If the issue persists, check if increasing the system’s virtual memory solves the problem.
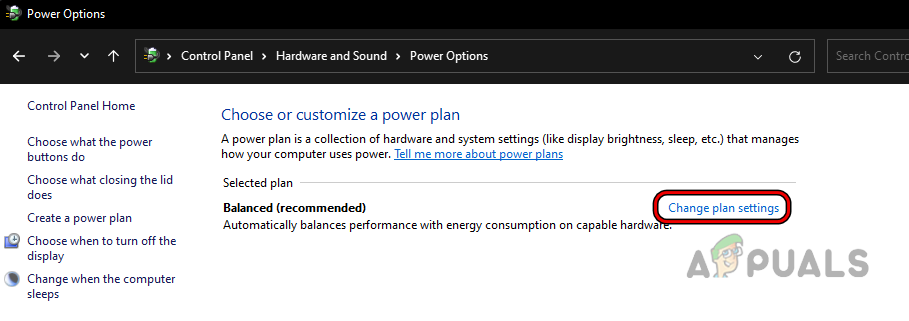
2. Change the System’s Power Mode to Balanced or High Performance
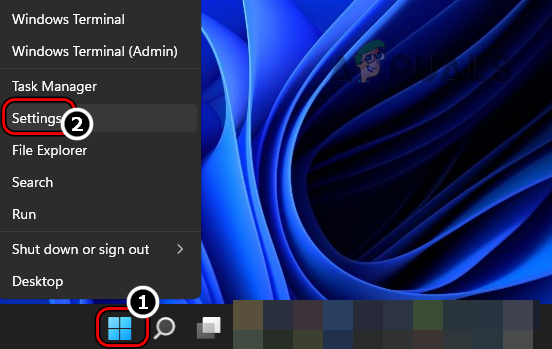
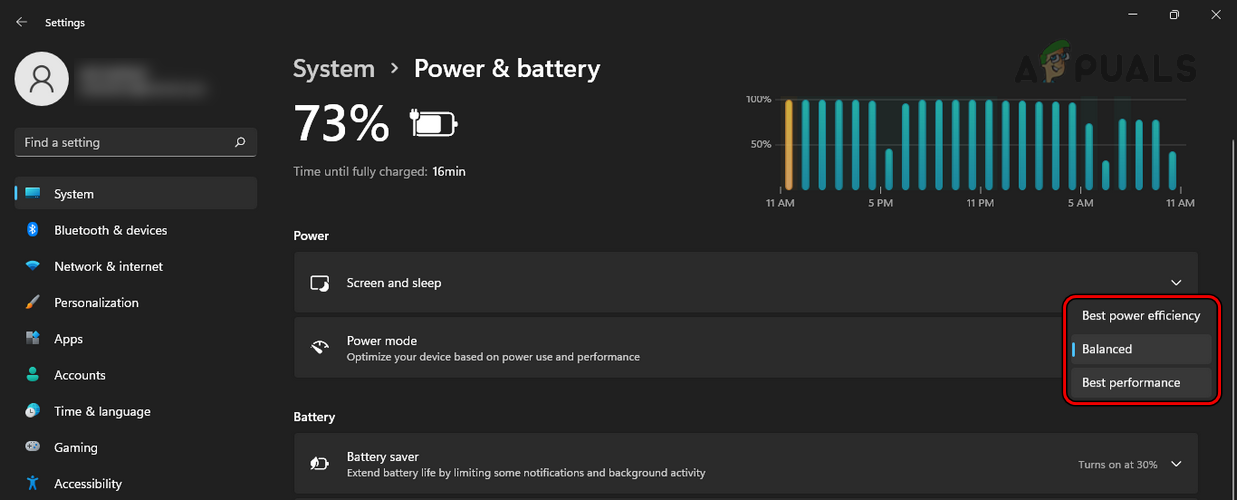
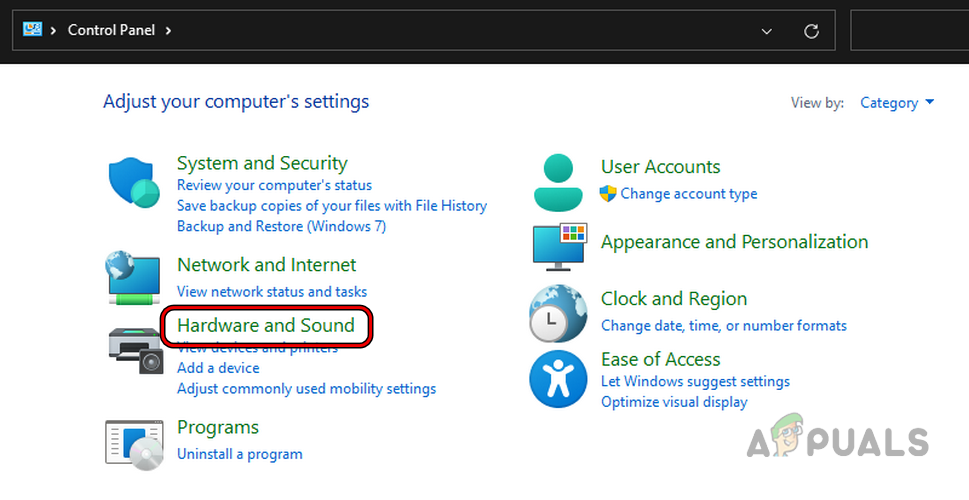
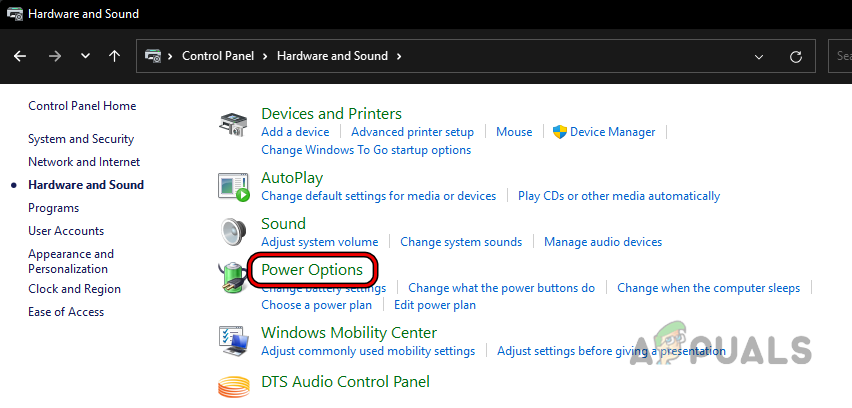
If your system is running in the Power Saving mode, then certain features of the system face degradation in the performance to save the system’s power and thus cause freezing. In such a case, changing the system’s power mode to Balanced or High Performance may solve the problem.
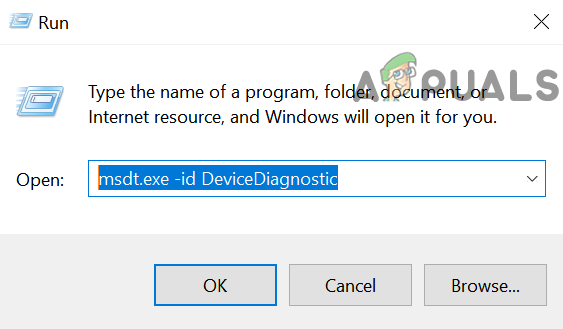
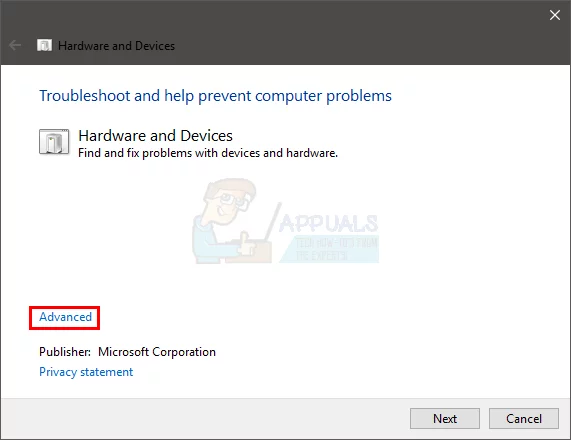
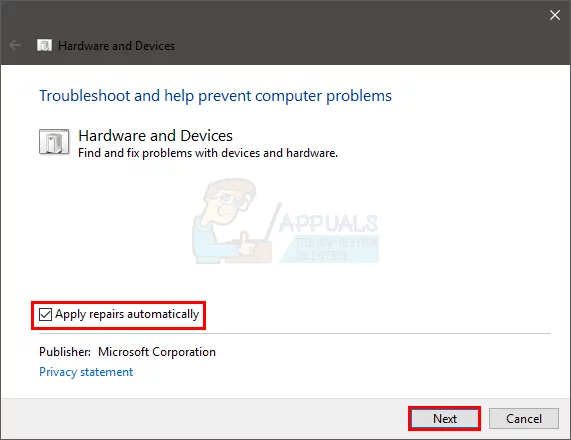
3. Run the Hardware and Devices Troubleshooter
You may also encounter the issue at hand if any of the hardware or device configurations are not optimal as per the OS requirements. Here, running the Windows built-in Hardware and Devices Troubleshooter may sort the configurations issues and thus may clear the DeviceRaidPort error.
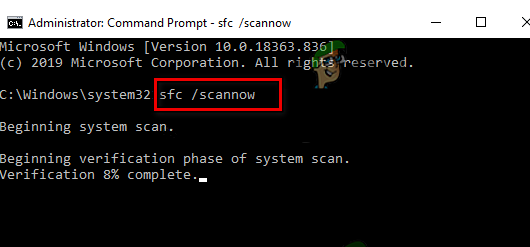
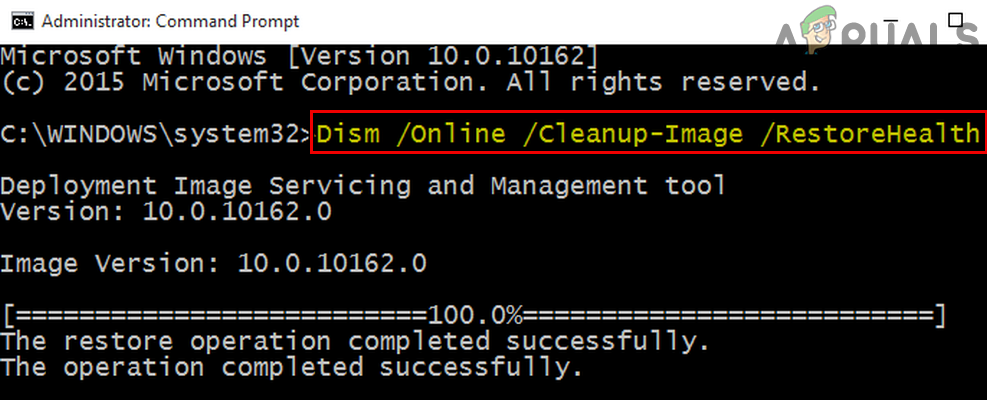
4. Perform the DISM and SFC Scans
Your system might freeze and crash with the “reset to device” issue if the essential system files are corrupt as the OS fails to execute the required operation on the disk. In this case, performing the DISM and SFC scans may clear the freezing issue. These scans may take time to finish, so, try when the system is free like overnight.
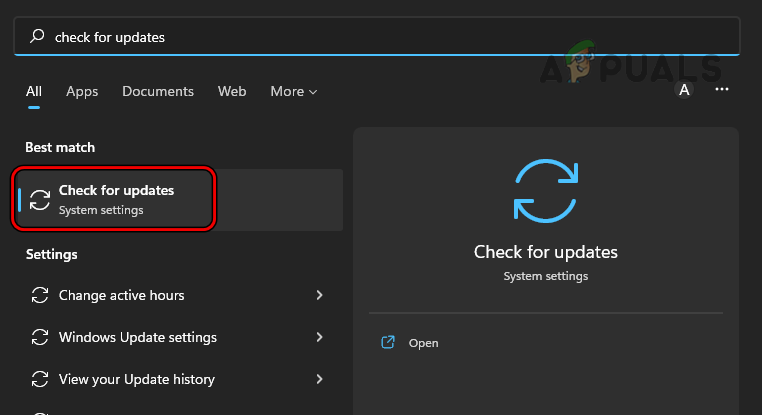
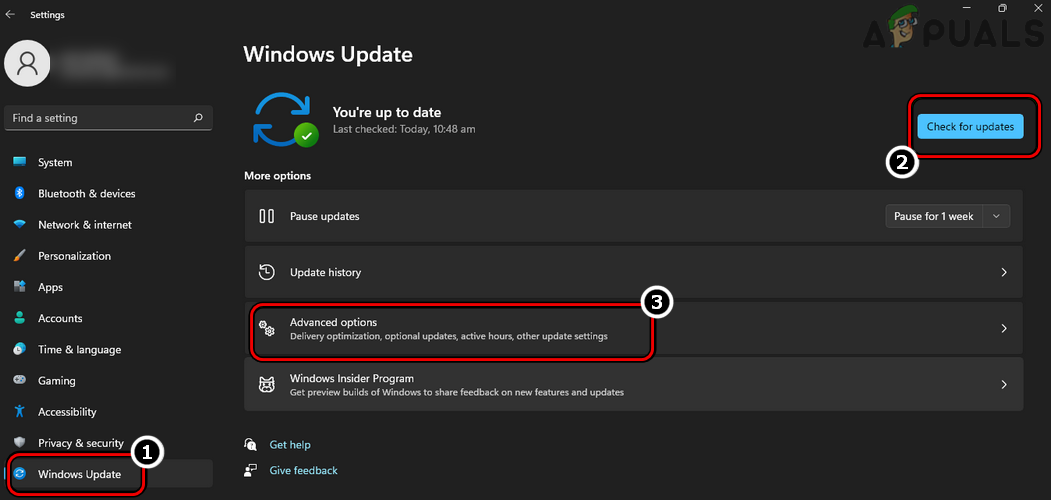
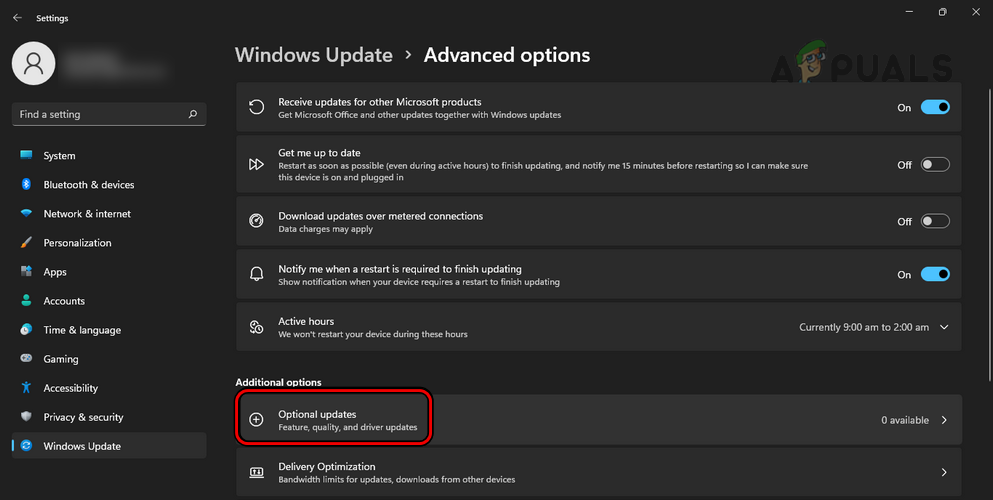
5. Update the PC’s Windows to the Latest Build
If your PC’s OS is not updated to its latest build, then its incompatibility with the other OS modules (especially, the storage driver) can result in the Reset to Device issue. Here, updating the PC’s Windows to the latest build may clear the Device Raid Port issue. If that did not work and the issue is caused by a particular application (like Office), then check if updating that application to its latest build resolves the issue.
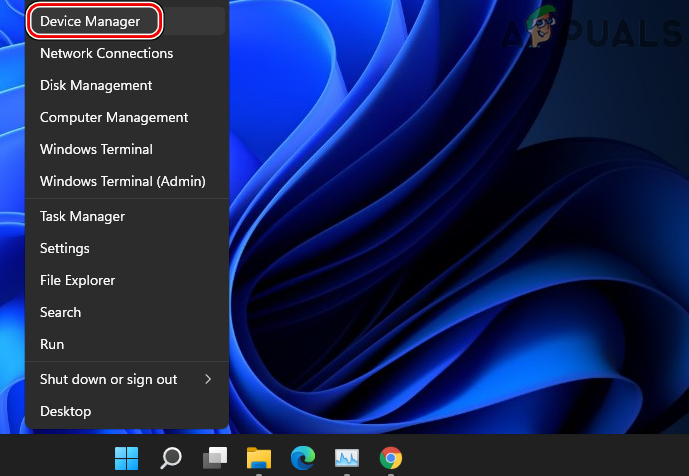
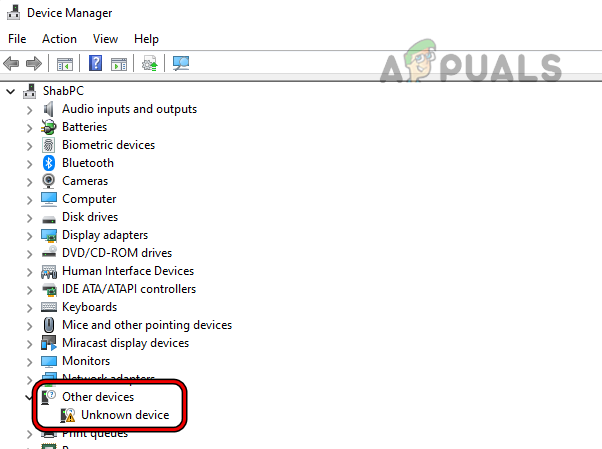
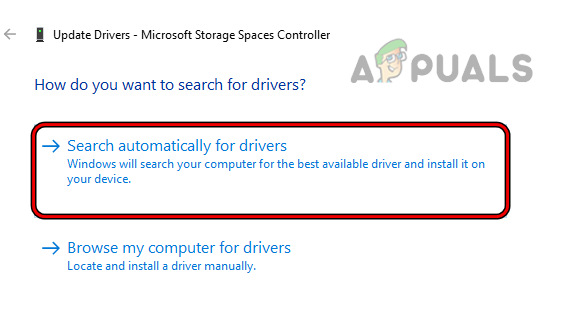
6. Update the System Drivers to the Latest Builds and Install the Missing System Drivers
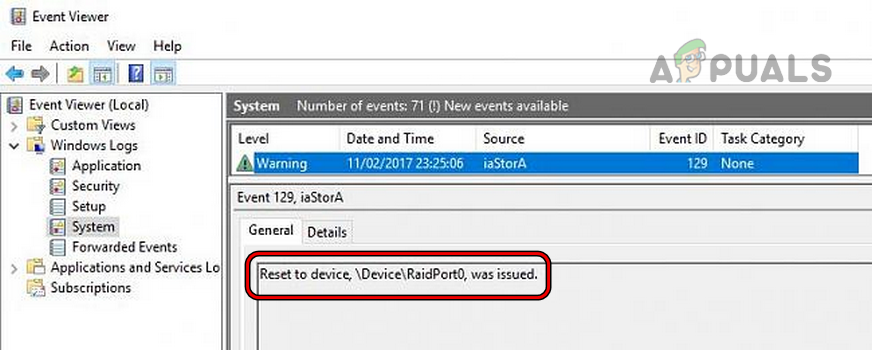
You may encounter “Reset to device, \Device\RaidPort0, was issued” if the system drivers are outdated as that can hinder the OS capability to perform a read/write operation to the problematic device. Also, if some essential system drivers are missing, then that could also result in the issue at hand. In this context, updating the system drivers to the latest builds and installing the missing system drivers may solve the problem.
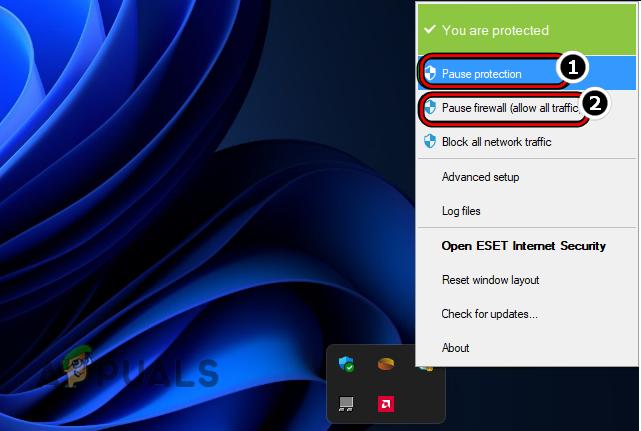
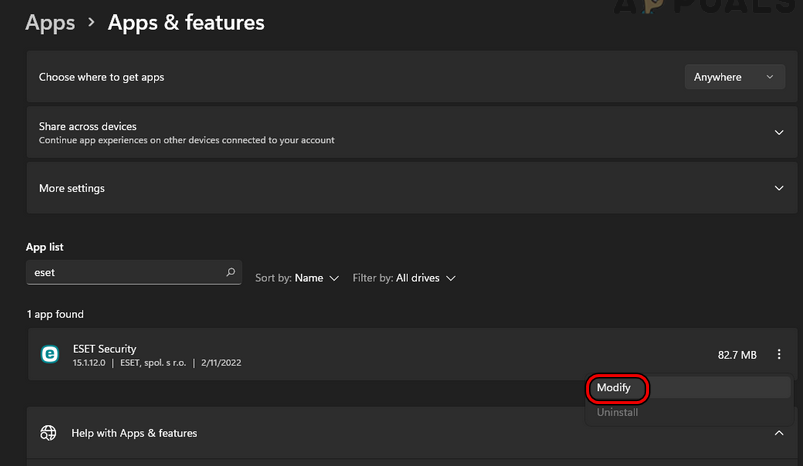
7. Disable or Uninstall the PC’s Antivirus
If the PC’s antivirus is hindering the read/write operation to the problematic disk, then that could result in the error at hand. In this case, disabling or uninstalling the PC’s antivirus may clear the freezing issue due to reset to the device. For elucidation, we will discuss the process of disabling and uninstalling the ESET antivirus. Warning: Proceed at your own risk as disabling or uninstalling the system’s antivirus can be risky at times and may expose your system, network, data, etc., to threats. If that did not work and the issue is occurring with a game that is not installed on the system drive, check if reinstalling the game on the system drive resolves the issue.
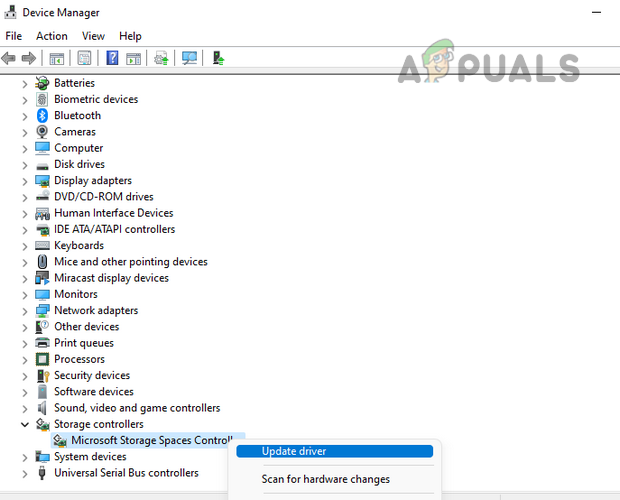
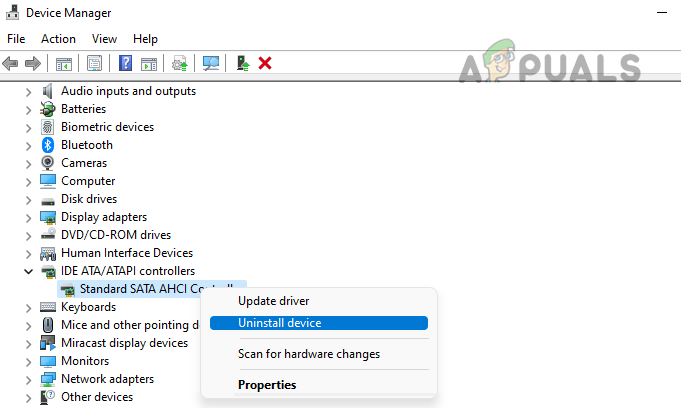
8. Reinstall the Storage and Other System Drivers
If the installation of storage and any other system drivers are corrupt, then that may cause the reset to devise issue at hand as the driver may fail to load the essential modules to perform read/write operations on the drive. In this context, reinstalling the storage or other system drivers may clear the problem. Before proceeding, make sure to download the system drivers from the OEM website. If that did not work, then check if reinstalling the following drivers (one by one) clears the error but make sure the driver is downloaded from the OEM website, not a generic Microsoft driver: If none of the above drivers resolved the issue, then check if installing these drivers in a compatibility mode resolves the issue.
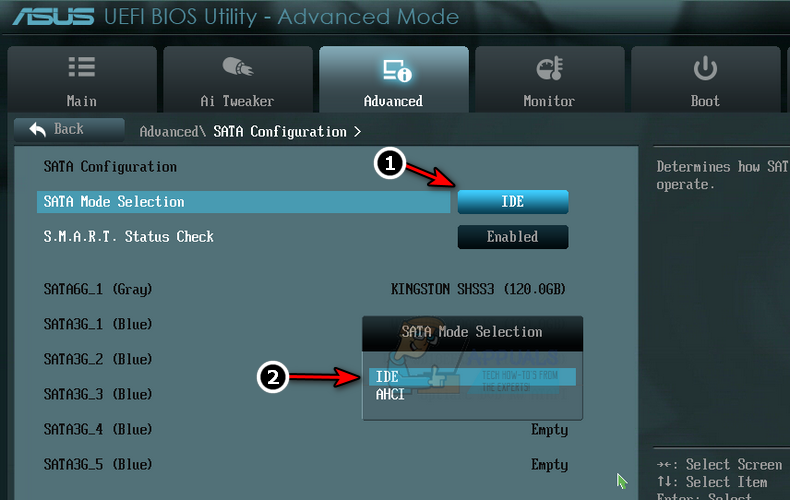
9. Change the PC’s SATA mode from AHCI to IDE
If any of the installed system applications or services is dependent on the IDE SATA mode but your PC uses AHCI, then that could result in the issue. In this scenario, changing the PC’s SATA mode from AHCI to IDE may clear the problem. The process might differ but the general guidelines are as under: If the SATA mode is already set to IDE at step 2, check if setting the SATA mode to AHCI clears the issue.
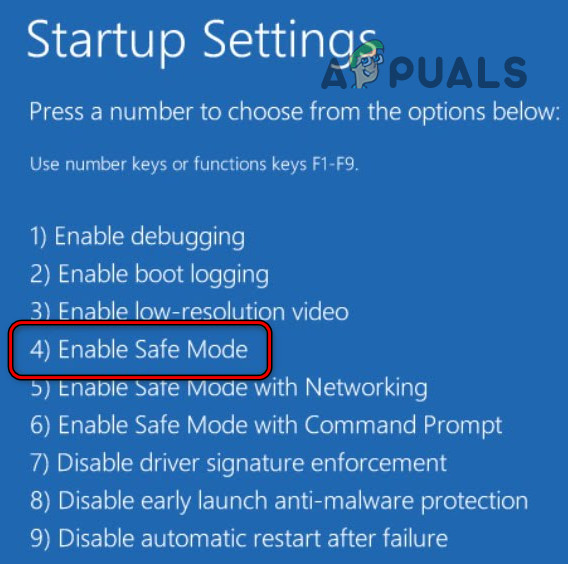
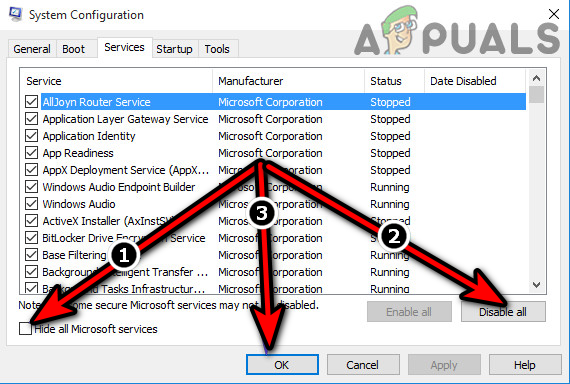
10. Perform a Clean Boot of the System and Uninstall the Conflicting Applications
If an application or utility is blocking the OS’s ability to read/write data to a particular drive, then that could result in the Reset to Device problem. In this scenario, performing a clean boot of your PC and uninstalling the conflicting applications may clear the device error at hand. ExpressCache from Diskeeper and HP Insight Management WBEM Providers are known to cause the device issue at hand. If you have any of these applications or any other applications in a similar niche, then check if uninstalling those applications clears the error at hand.
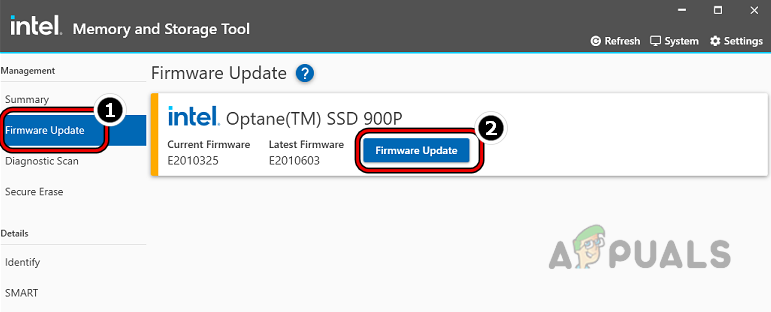
11. Update Firmware of Your Drive
The system may show the “reset to device” problem if the firmware (not the driver) of the problematic drive is outdated as it can make the drive incompatible with the OS and cause the issue. In this context, updating the firmware of your drive may resolve the DeviceRaidPort issue. It is strongly recommended that you backup the data on the drive before proceeding. As the process will differ for different drives, we will discuss the process of updating an Intel SSD by using the Intel Memory and Storage Tool (GUI). If the SSD drives are in RAID, then it is recommended to use Intel Memory and Storage Tool (CLI). Warning: Advance with utmost care and at your own risk as a certain level of risk is involved when updating a drive’s firmware.
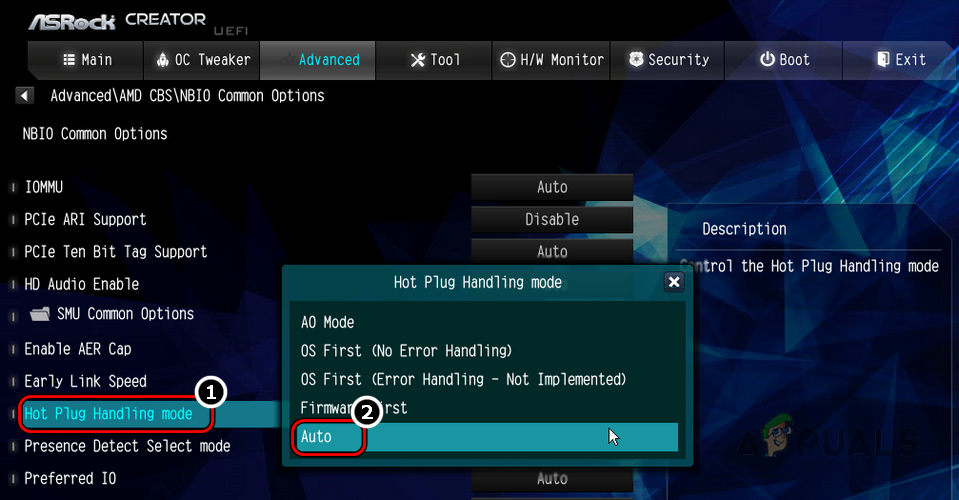
12. Enable Hot-Plug for the Problematic Drive in the System’s BIOS
Hot-plugging makes a drive easily swappable and is essential for the execution of many AHCI-based operations. If the said feature is disabled for the problematic drive, then that could result in the error. In such a case, enabling the Hot-Plug for the problematic drive in the system’s BIOS may solve the problem. If that did not work, check if reseating or replacing the CMOS battery clears the reset to device problem.
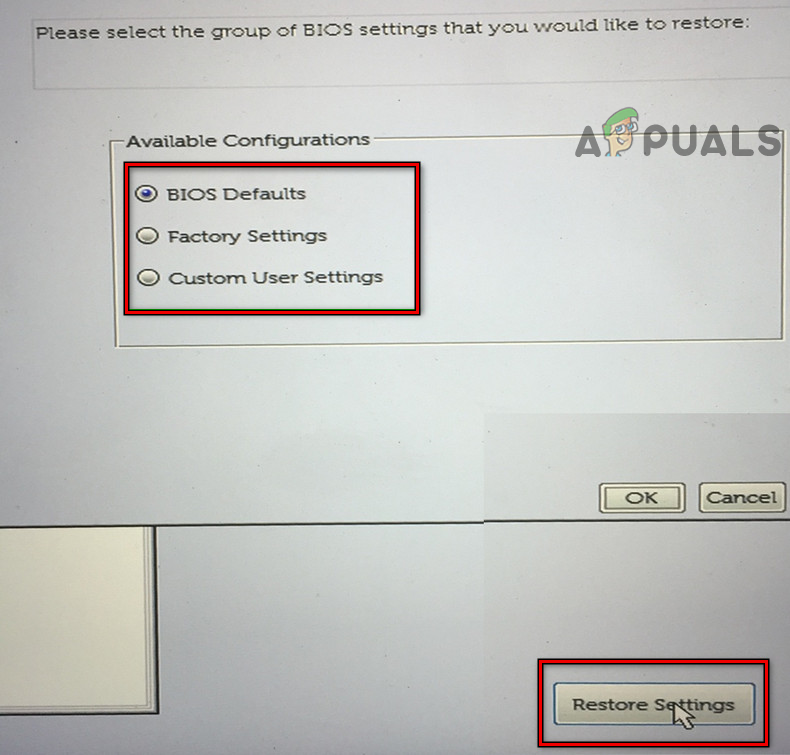
13. Resetting the System BIOS to the Factory Defaults
If any of the customizations done to your system’s BIOS conflict with the OS’s ability to properly perform a read/write operation on a particular drive, then that could result in the problem. In such a case, resetting the system BIOS to the factory defaults may solve the device issue at hand. The exact instructions might differ but the general guidelines are as discussed below. Warning: Advance at your own risk as editing the system’s BIOS is a skillful task and if anything goes wrong (like a sudden power failure), then you may brick your PC and cause everlasting damage to your data. If that did not work and you are overclocking your PC, check if reverting the OC settings to the stock values resolves the issue.
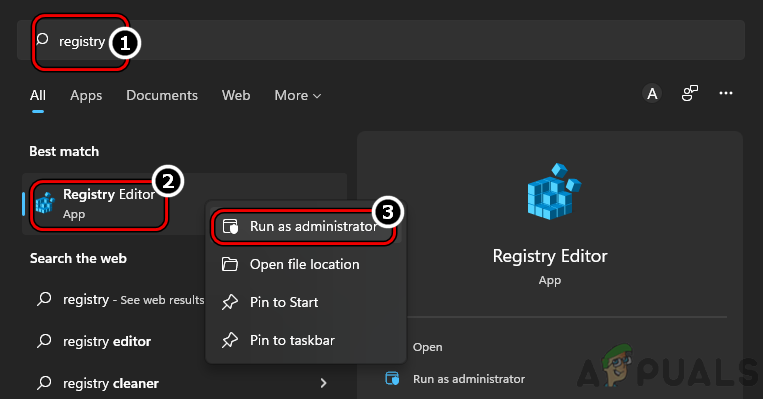
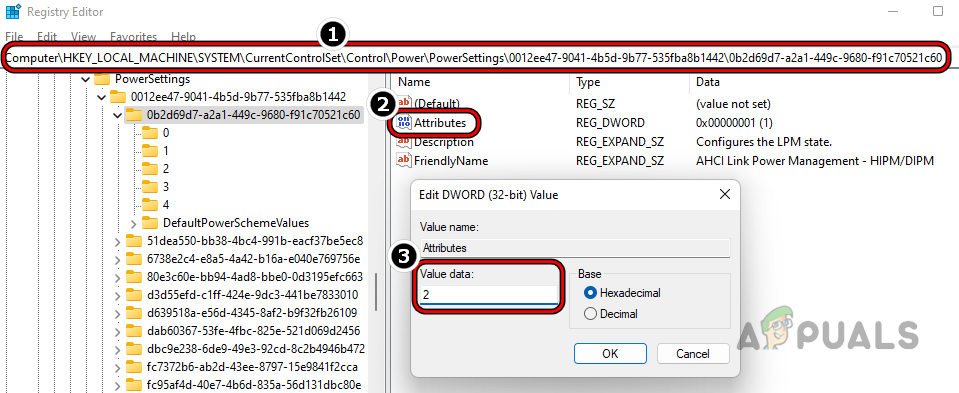
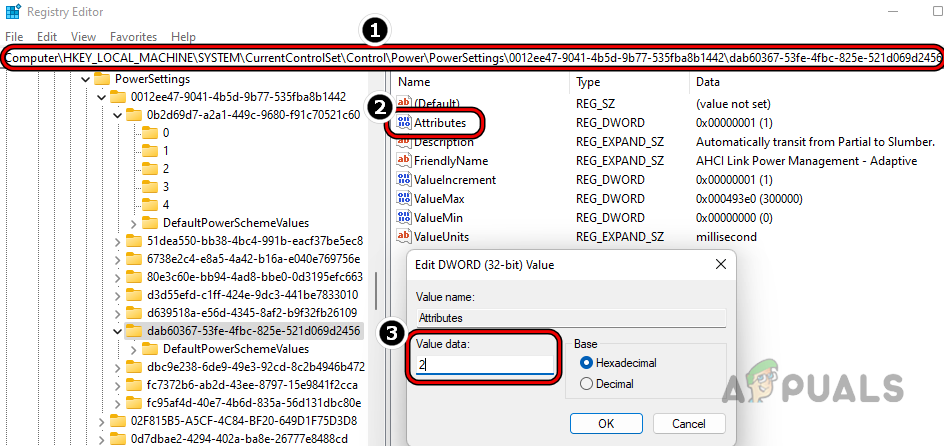
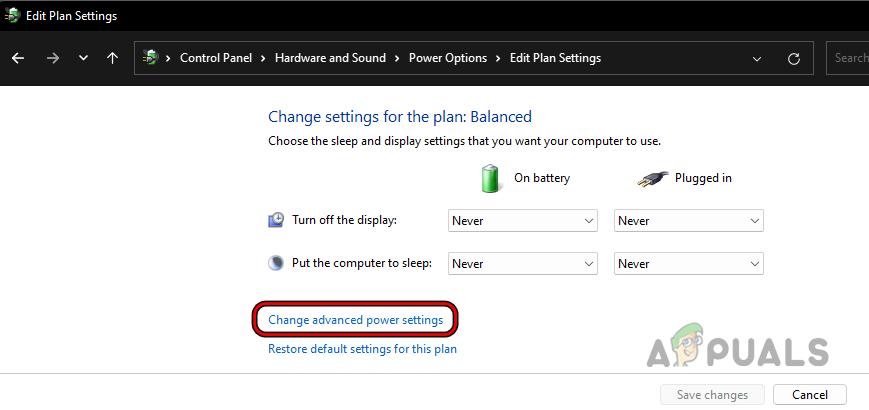
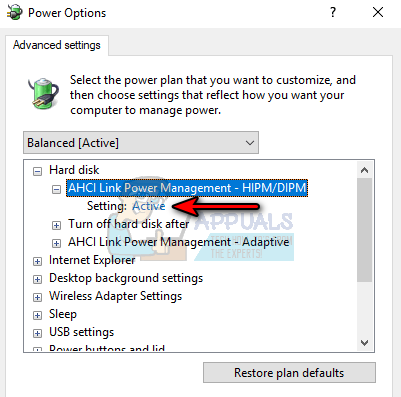
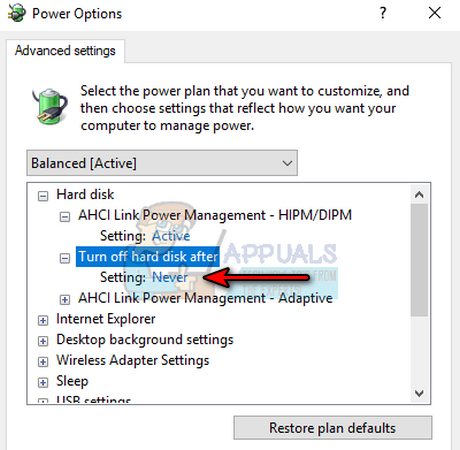
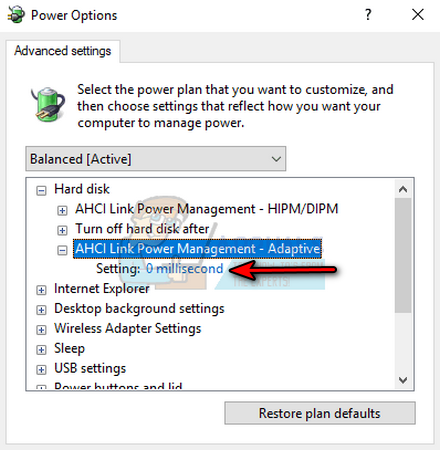
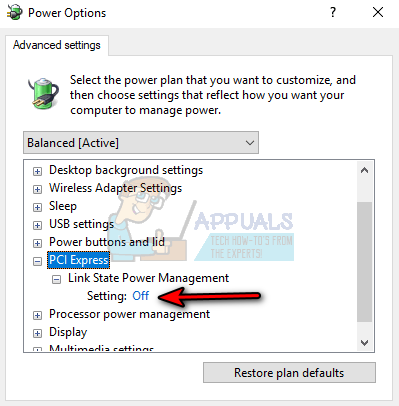
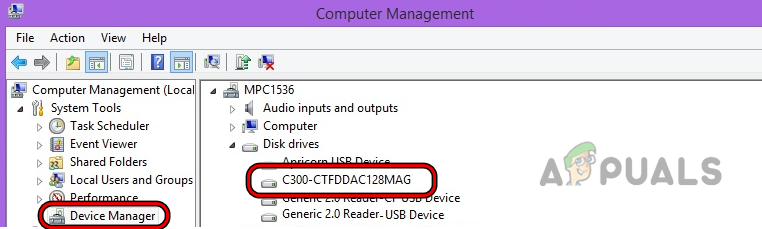
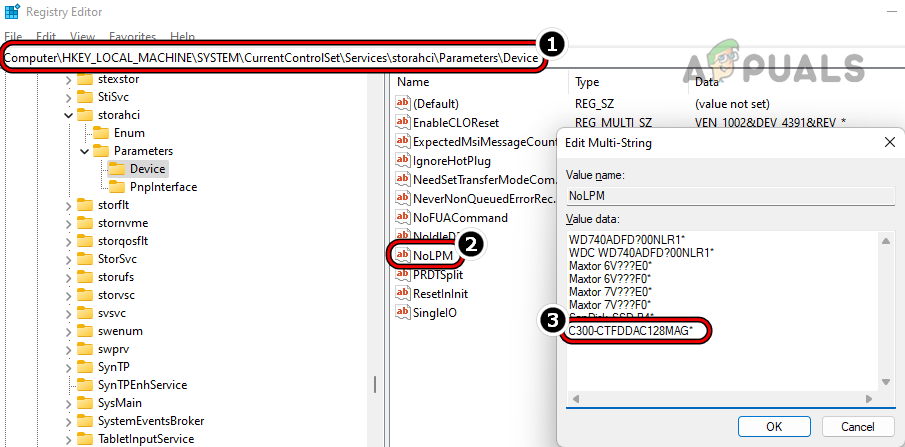
14. Edit the System’s Registry
If none of the above worked for you, then editing the system’s registry to disable the hard disk’s low power mode may solve the problem. Before proceeding, make sure to back up the system’s registry. Warning: Advance at your own risk as editing the system’s registry is a skilled task and if not done properly, you may damage your system/OS and expose your data to threats. Also, when the LPM of the drive is disabled, it consumes more power and spins for a longer time, which may decrease the battery time and life span of the disk. If the issue persists, check if increasing the TimeOut value of the disk clears the error. If that did not work, check if downgrading the PC’s Windows to an older version clears the error (if the issue started to occur after an OS update). If that fails, then you may reset the PC’s Windows to the defaults or perform a clean installation of the Windows to resolve the issue. If the issue continues to occur, then the issue might be hardware related as a failing hard drive, a faulty RAM stick, or a faulty power supply can also result in the issue at hand and you may try another power supply, RAM, or hard drive.
How to Fix ESRV_SVC_WILLAMETTE Event Viewer ErrorsHow to Fix Event Viewer Error 0x80000000000000Fatal Error Occurred while Creating an SSL Client Credential in Event ViewerFix: Windows Photo Viewer can’t open this picture