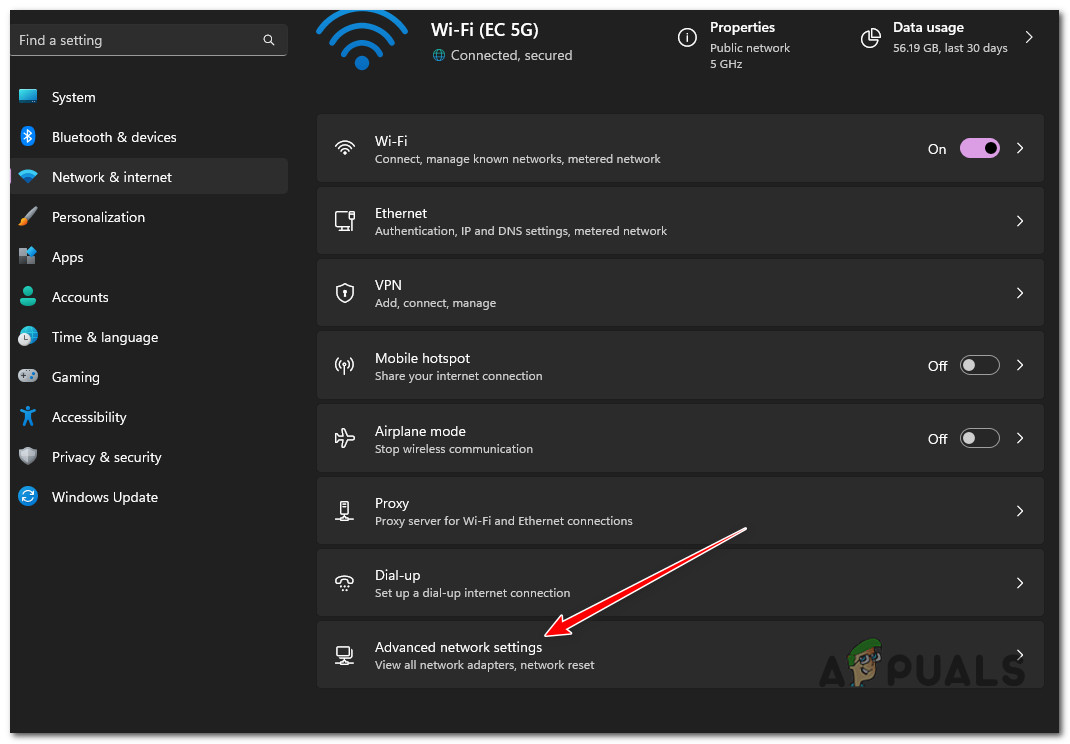
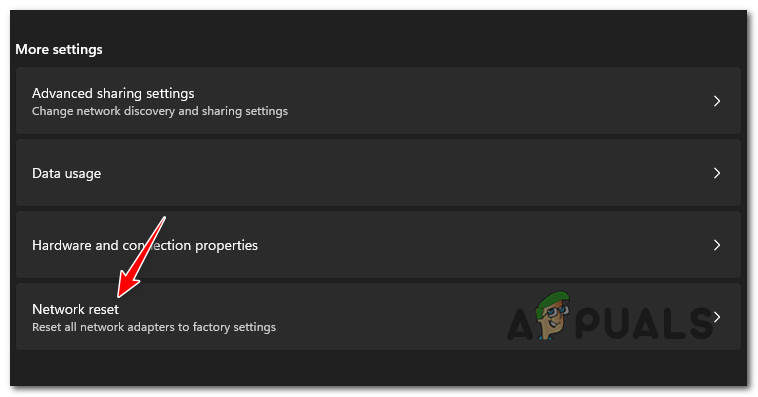
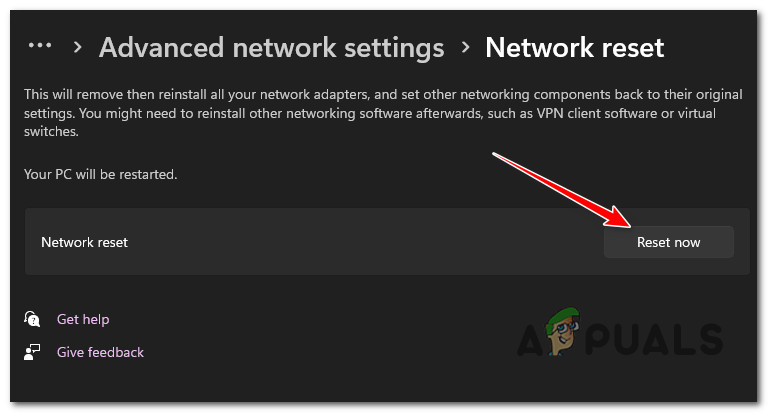
Let’s explore a series of fixes confirmed by other Windows users who found themselves in a similar situation.
1. Scan for Hardware Changes and Update
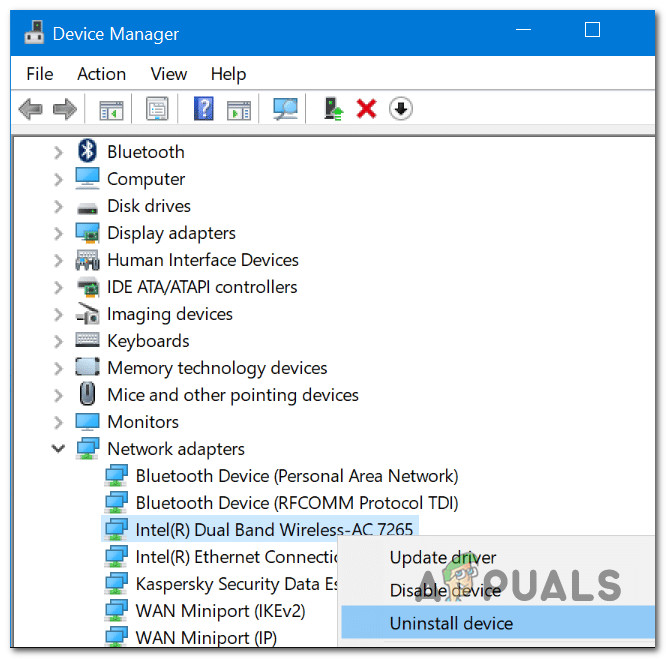
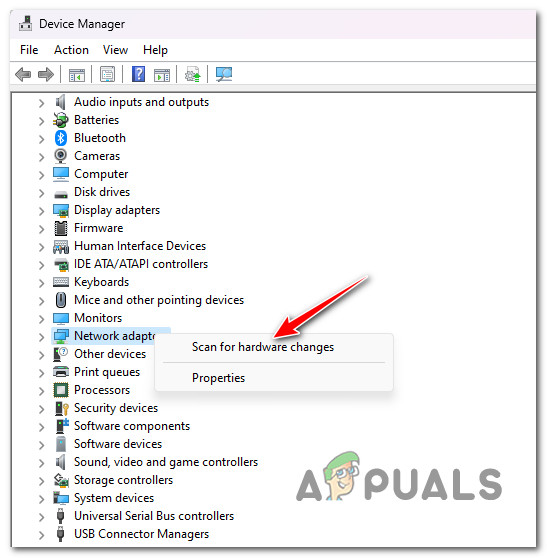
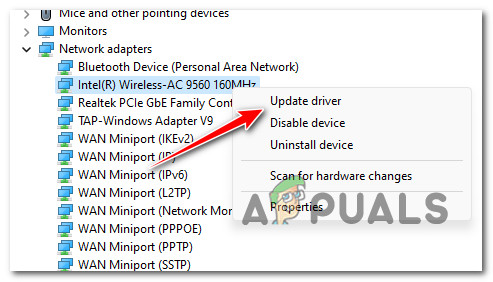
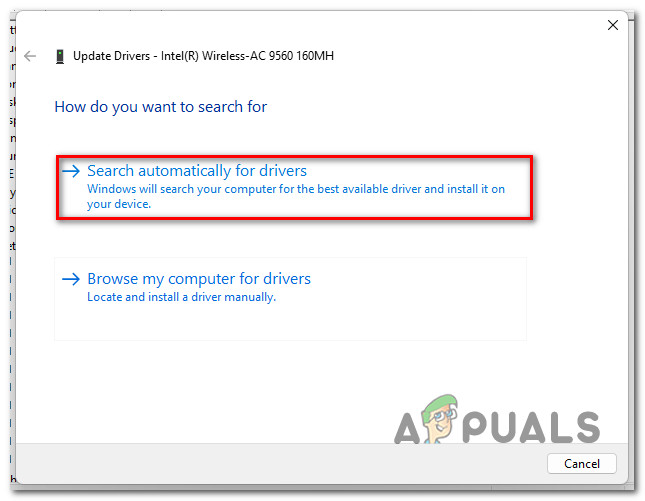
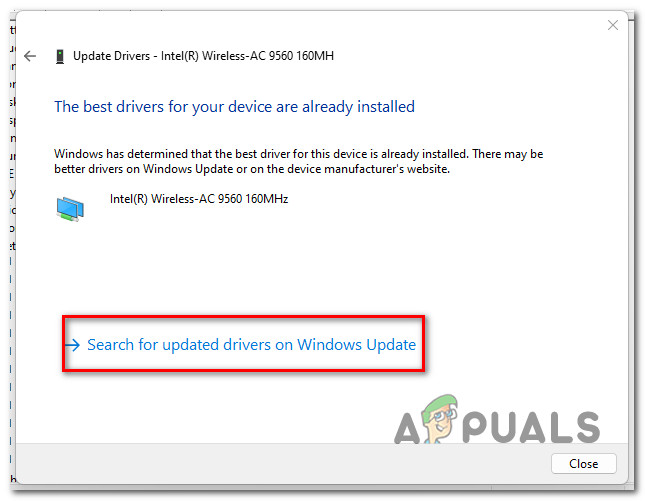
The network adapter should still be on your PC if you only uninstalled the Wi-Fi driver. This is most likely the scenario you find yourself in if you still have an Internet connection while you’re connected via ethernet cable. In this case, fixing the issue simply means using Device Manager to scan for updated driver software. If all goes well, Device Manager should discover that a driver does not manage the Wi-Fi component and prompt you to install a generic equivalent. This fix is confirmed to work on both Windows 10 and Windows 11. If this scenario is applicable, follow the steps below to deploy a hardware scan via Device Manager: If Device Manager did not identify a new driver version for the Wi-Fi component, it’s likely that you uninstalled the entire network adapter component. In this case, try the next method below.
2. Use System Restore
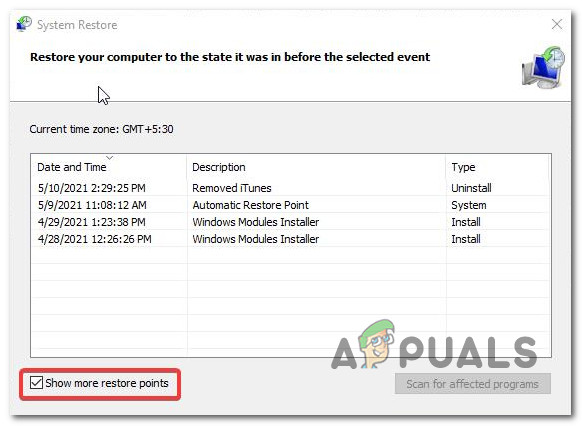
If internet access is no longer working, even if you connect your Windows PC with an ethernet cable, chances are you managed to uninstall the network adapter driver along with every subsequent driver. If you find yourself in this situation, using System Restore is the quickest way to revert your internet access to a working state. Note: By default, every recent Windows version is configured to automatically create a system restore snapshot just before an important system change occurs. This includes the installation or uninstallation of a driver. Unless you modified the default behavior of System Restore, you could use the restore snapshot that was created just before you uninstalled the network adapter driver to get your network drivers back. Important: It’s essential to understand that if you use a System Testore snapshot, you will affect more than just your driver’s fleet. Everything you installed after creating the snapshot will be removed (drivers, applications, Windows Updates, etc.). If you understand the consequences and you wish to process with using System Restore, follow the steps below: If you cannot connect to your Wi-Fi network, move down to the next method below.
3. Install the Network Adapter Driver Manually
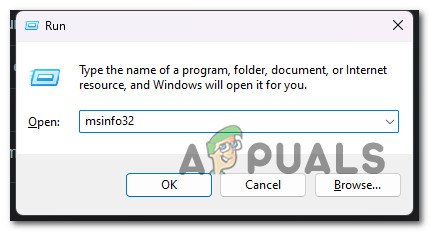
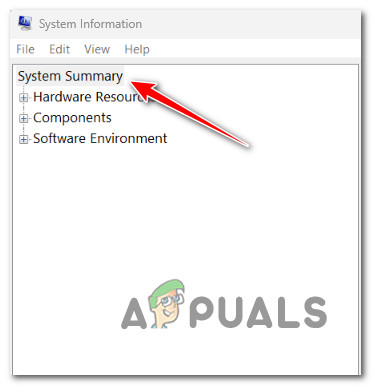
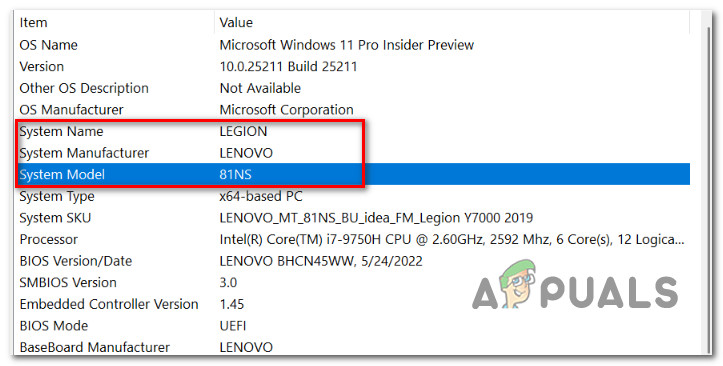
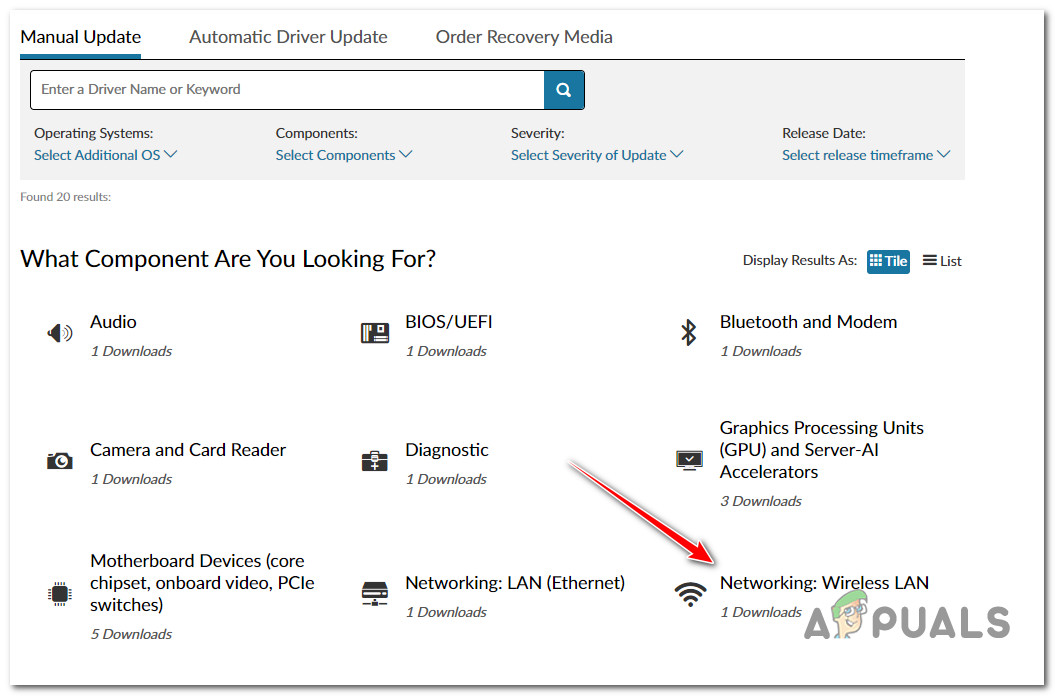
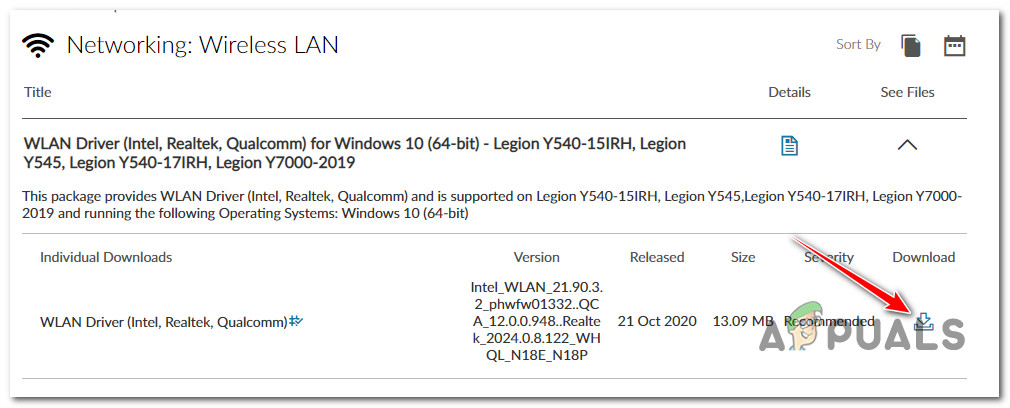
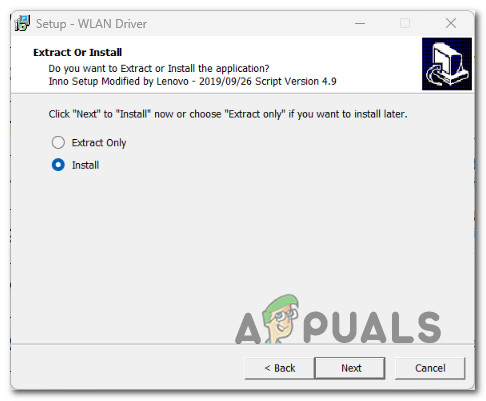
If the two methods above don’t work in your case, the only viable option at this point is to download the wireless network driver from the official manufacturer’s website and install it manually. Note: If you no longer have Internet access on the affected Windows PC, you’ll need to use a different device to download the driver. If you have trouble locating the driver you need to install, check the make and exact model number of your laptop (or your motherboard). On laptops, this information is usually visible on a sticker on the bottom casing. Additionally, you can use the System information screen to view this information. We’ll show you how to do it below: Once you know the model number, follow the instructions below to find the correct network adapter driver: If you still aren’t able to connect to a Wi-fi network, the issue is likely rooted in some kind of network inconsistency. Move down to the next fix to reset your network settings.
SOLVED: Deleted Favorites Keep Coming Back on Internet ExplorerClosed Back vs Open Back Headphonesnvlddmkm Driver Stopped Responding? Try these fixesPrinter driver is unavailable Error on Windows? Try these fixes
